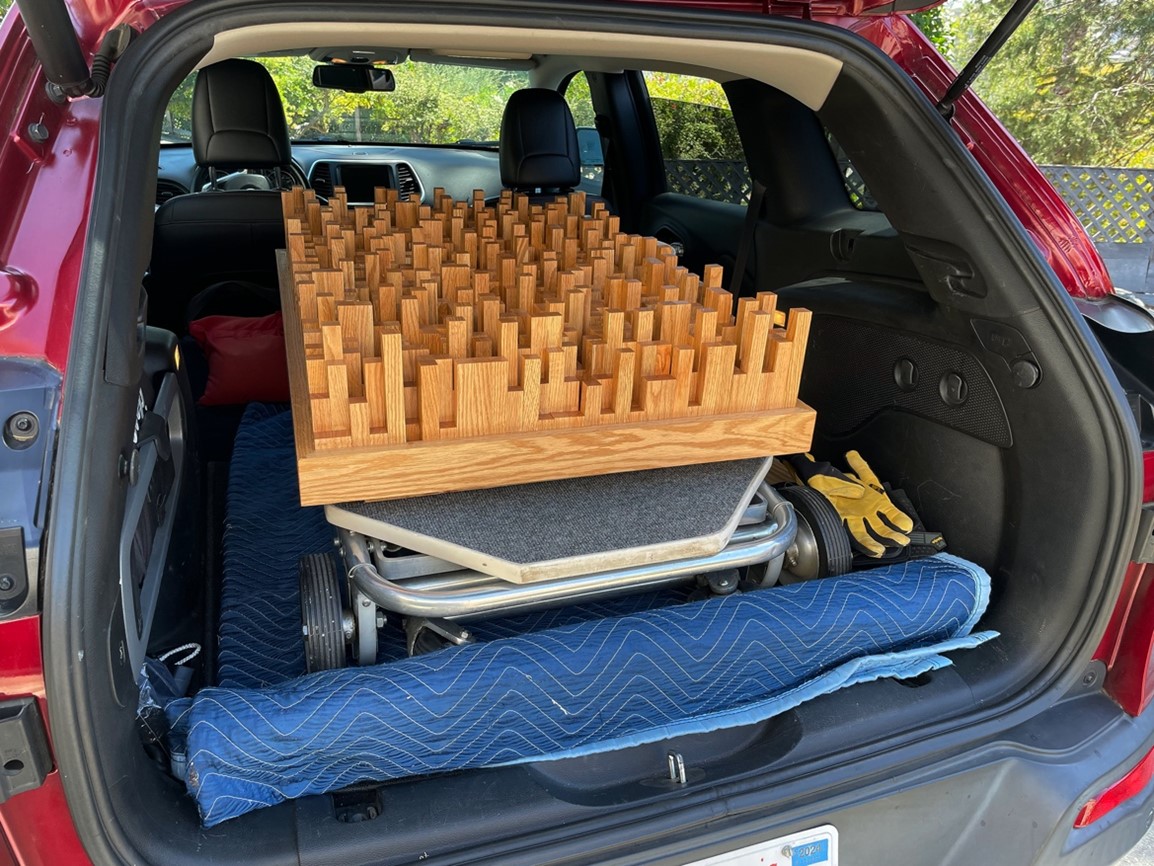
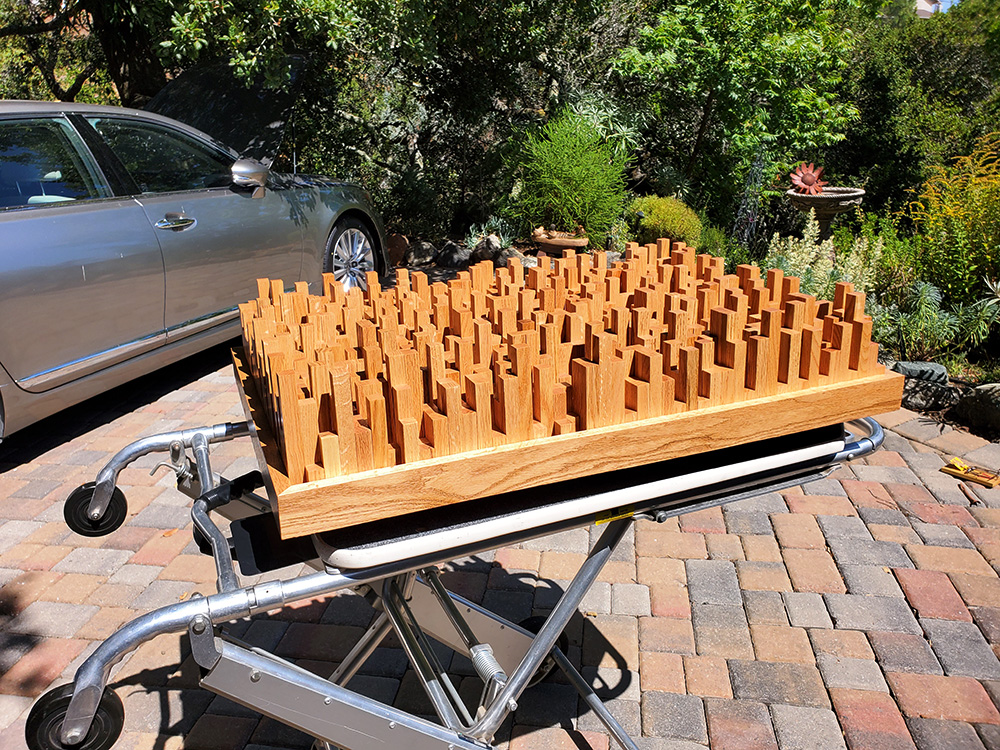
A skyline sound diffuser is a specialized acoustic treatment designed to enhance the sound quality within a room while also adding a visually appealing architectural element. These diffusers are typically used in spaces like recording studios, home theaters, and auditoriums to break up sound reflections and prevent unwanted echoes. Skyline sound diffusers scatter sound waves in different directions, to help create a more balanced and immersive acoustic environment, making them an essential tool for achieving optimal sound quality in various settings. By selecting the proper size, frequency range, materials, and putting in some effort, you can craft a Skyline Sound Diffuser that doubles as a captivating piece of wall art.
Achieving superior acoustics has never been easier. I used a relatively straightforward procedure to create this Skyline Diffuser. I started by cutting numerous square pieces into four distinct lengths, gluing pieces strategically in place, and then applying my desired finish.
So, roll up your sleeves, gather your materials, and embark on this fulfilling journey of artistic design and engineering. By the end, you’ll not only deepen your appreciation for sound science but also possess a tangible testament to your ingenuity and passion for acoustic excellence. Prepare to craft, create, and curate sound as you construct your very own DIY Skyline Sound Diffuser.
To design an effective sound diffuser, you will want to have a general understanding of the different types and their designs. A little research into the different types of diffusers will help you determine which one best fits your application.
In this DIY project, I will guide you through building a 2 x 3 feet Skyline diffuser. The effectiveness of a diffuser across varying frequency ranges is determined by its design. A helpful rule of thumb is that deeper wells (the spaces in between the taller wells) excel in diffusing lower frequencies, while smaller dowel sizes are more suitable for higher frequencies. For instance, a 6-inch well is effective to 1,100 Hz, while an 8-inch well covers down to 800 Hz. This depth also defines the diffuser’s wall-mounted depth. With a 1-1/2-inch square well, you can cover up to 4,500 Hz, while a ¾-inch square well extends coverage to 9,000 Hz.
Keep in mind that a smaller well size necessitates more components to fill the same space. Websites such as HiFi Audio Design, and others, offer calculators to help you determine diffuser dimensions based on your preferred frequency range.
For my project, I opted for a frequency range of 1,100 Hz to 9,000 Hz. Utilizing this range, the program gave me the length, and quantity of the pieces, as well as total material length, and a placement template for the 144 wells in a 12” x 12” grid diffuser. The final diffuser dimensions would be 24” x 36”. Using ¾-inch square wells, the grid would measure 9” square. To complete the diffuser, I’d need 4 grids horizontally and 2.6 grids vertically. This led to a reality check: the diffuser I was constructing would comprise a whopping 1,536 pieces, each cut into four different lengths. This is where a spreadsheet came in handy. As a trial run, I assembled and finished a single-grid diffuser. Even this smaller diffuser had 144 pieces, totaling 1,680 pieces to complete both the trial run and the main diffusers. The magnitude of the project was truly eye-opening.
Selecting suitable materials was essential, affecting both acoustic performance and visual appeal. I used a resilient and resonant wood type (oak) for the main diffuser components. A sturdy backplane is essential to support the diffuser and provide structural stability. Remember to account for weight; the backplane must adequately bear the diffuser’s load. The hangers to mount the diffusers are equally important. Choose the appropriate hangers to mount the finished diffuser on the wall.
I used red oak for this project. Red oak has a beautiful natural wide grain pattern, it is easy to sand using a block or pad and is easy to finish. For the backplane, I used ¾-inch red oak plywood, framed with 1” x 3” red oak. The diffuser can be built with or without a frame. I chose to use a frame made of red oak to ensure precise component placement. I also liked the finished look that the frame gives the diffuser.
Back to the spreadsheet: calculations indicated that I needed 37 feet of ¾-inch square dowel for one grid. With 4 grids across and 3 down, a total of 12 grids would complete the 24” x 36” diffuser. This included the sample components. The spreadsheet calculations indicated that I would need 444 feet of ¾-inch square dowel. By ripping 8-¾ inch square dowels from 1” x 8” x 8” oak boards, I could obtain 64 feet per board. Consequently, I needed seven 8-foot boards for the 1,680 pieces required for this project.
The diffuser’s estimated weight stood at 90 lbs. To support this, I used two French cleats to wall-mount the diffuser. I printed the layout template at the diffuser’s scale. It was like solving a 1,500-piece puzzle – the template served as the solution. To eliminate pattern repetition, I rotated each grid by 90 degrees horizontally and vertically.
Now it’s time to dive into the real work. I had 8 pieces of red oak lumber measuring 1 inch x 8 inch x 8 feet, along with a 2 ft x 4 ft sheet of red oak plywood. As I gazed at the stack of lumber, I was struck by the sheer amount of wood needed to construct this diffuser. I set up the table saw to rip ¾” square dowels from the 1” x 8’s, and the compound miter saw to meticulously cut the ¾” dowels into four distinct sizes. To keep things organized, I printed a detailed list of the 1,680 components that I needed to cut for the diffuser and the sample.
This phase of the project might seem a bit monotonous. I ripped through 56 feet of 8” lumber to create 512 feet of ¾” square dowels. Looking at the specifics of the cut list. I needed pieces of varying lengths: 456 pieces at 1.5”, another 456 at 3”, 480 at 4.5”, 180 at 6”, and approximately 20 at 1”, designated for the zero wells in the layout. I cut some extra pieces to account for those uh-oh moments that happen in every project. To ensure uniformity in size, I used fixed stops on the miter saw. Storing all these components systematically was key throughout the construction process.
After a couple of days of cutting the wood to size, I moved on to sanding. This step required sanding all four sides of each piece. For the tops and bottoms, I grouped them into a large square and used clamps to hold them in place while sanding to achieve smooth even lengths. Although this part was time-intensive, the effort paid off when it was time to apply the finishing touches.


Before I cut the backplane to size, I laid out three rows and columns to get an average measurement for the diffuser backplane. To give the final product a polished appearance and provide support to the components at the edges, I constructed a frame around the backplane. This frame was routed to a depth of ¼” to interlock seamlessly with the backplane itself. To accommodate this frame, I added an extra ½ inch to each side of the backplane’s dimensions. The frame’s height extended 1” above the backplane while reaching ½” below it. With the backplane at ¾” the frame was ripped to 2 ¼”.
I used ¾ inch-thick French cleats to mount the diffuser. This setup created a ¼” gap between the diffuser and the wall. The cleat itself was fashioned from 1” x 6” lumber that was ripped down the center at a 450 angle. One side of the cleat would be attached to the backplane, while the other side would secure it to the wall.
Assembling the Skyline Diffuser
With the cutting and sanding completed, I was now ready to assemble the diffuser. This is where all the effort begins to converge into a beautiful Skyline Diffuser. If you recall, I was simultaneously constructing a small, single-grid diffuser. I used the sample diffuser as a reference to validate my approach to the assembly of the main Skyline diffuser.
To start, I framed the backplane by gluing and clamping the frame on 4 sides. I also labeled the boxes of dowels for easy identification during layout, ranging from the shortest (labeled 1) to the longest (labeled 4). I printed the well template to size, which resembled a spreadsheet with 48 columns across and 32 rows down with numbers from 0 to 4. This defined the length of pieces to the specific well layout.
My template called for 48 columns of 32 rows from left to right across the diffuser backplane. To ensure proper fit and placement, I placed 5 columns within the frame according to the template. This approach allowed for adjustments to ensure the pieces fit seamlessly within the frame. It was crucial for the piece size to be precise. Even a slight difference of 1/64” can accumulate across 32 pieces and result in a variance of plus or minus ½”. Since I was working with a frame, achieving a close tolerance was essential for a proper fit in both directions as assembly proceeded.
Using a small brush, I applied glue to the bottom and ¾” up each side that came in contact with the piece next to it. Once I completed 5 rows, I clamped them together and left them to dry. I continued this process across the diffuser assembly until only 12 columns remained.
At this point, I laid out the final twelve columns to measure the fit to the frame. I realized that the frame was undersized by approximately 0.079”. The good news was that the columns were square. In this case, it was advantageous to be slightly undersized on the frame. To address this, I divided 0.079 by the remaining 12 columns and sanded that amount from each piece…this is real craftsmanship happening here. I finished the last rows with a satisfying fit within the frame.
Finishing the Skyline Diffuser
I have reached the final stage of this Skyline diffuser project. The diffuser has taken its shape splendidly, fitting perfectly into the frame. Now, it is time to focus on the finishing touches. Throughout the construction process, I assembled a single 12×12 grid sample and two 5×5 grid samples to test finishes. I wanted to test the best application and the most suitable finish.
To begin, I tested a spray application with a matte polyurethane finish. This proved to be a significant time-saver, requiring just two to three light coats to cover the surface evenly. However, it fell short when it came to reaching the deeper wells. While it worked on the more extended sections, the deep wells were a challenge to adequately coat.
For the second round of testing, I turned to Danish Oil. Although this finish demanded more effort, it showcased impressive results. I generously applied the Danish Oil using a small microfiber cloth affixed to a 10” set of hemostats. I was able to cover the deepest wells completely. After allowing it to absorb for 20 minutes, I used clean microfiber cloths on the hemostats to delicately polish the surfaces to a dry satin sheen. I applied two coats of Danish Oil to achieve a luxurious finish. Danish Oil had been my initial preference due to its ability to permeate the wood, applying two coats resulted in a deep rich satin finish. Using the Danish Oil was a time-intensive endeavor, consuming two hours per coat on the sample, the results were well worth the effort.
I proceeded to apply the Danish Oil to the large diffuser in thirds, breaking down each third into smaller segments for better manageability. Danish Oil that sets too long before polishing can be difficult to remove. Following the liberal application of Danish oil, I allowed 20 minutes of drying before polishing each section. I tackled one-third of the diffuser during each session, allowing a day’s interval for proper drying between sessions. Notably, the application of the second coat was a more streamlined process compared to the first. After an estimated 100 hours of dedicated work, the Skyline Diffuser was at last finished. As I gazed at the final piece of art, I couldn’t help but feel a sense of amazement and accomplishment.
Key Takeaways from Building the Skyline Diffuser
The diffuser is a unique piece of craftsmanship. Building this DIY Skyline Sound Diffuser was my first foray into working on a functional art project. I honed my skills as a craftsman building and remodeling houses, building custom bookshelves, and many other projects. The selection of wood and diffuser dimensions plays a significant role in the look of your diffuser. Wood selection will have a large impact on material costs for completing your Skyline diffuser. For this rendition, I opted for red oak, which totaled $1,000 in materials.
Secrets Sponsor
I initially allocated 80 to 90 hours to complete this project, the actual time was 130 hours. It is critical to put the necessary time into your project. I did not rush the project, and neither should you. Create a plan, build to your plan making adjustments as needed and it will show up in the final project. Building the sample diffuser gave me a sense for the overall process. It also helped to get a sense of how the pieces would all fit together and just a good feel for what was required to build the larger diffuser. I must admit assembling the ruffly 1500 pieces in the large diffuser was quite an undertaking.
I analyzed the time spent on each step of the project. I knew I did a lot of sanding but was somewhat surprised that 45% of the project time was devoted to sanding. I tried to rent a disc/belt sander to speed up the process but found none were available at any local tool rental facilities. I used a finishing sander clamped to the bench with an attached vacuum. This was not an ideal method to sand the huge number of pieces, but it worked. Addressing this facet would significantly impact the project’s timeline. If there is another diffuser build in the future, my solution would include a new Jet disc/belt sander. A new sander would streamline the sanding process while providing accurate sizing of the ¾” square dowels. This would also facilitate a smoother layout of the pieces. I think I can save approximately 50 percent of the sanding time and speed assembly with accurate dowel sizing.
Secrets Sponsor
This can be a great DIY project that with proper planning can result in a gorgeous and practical addition to your home theater. I know that as pieces stacked up during the construction of the Skyline Diffuser, I asked myself more than once, how did I agree to build this. It all sounded so easy when John and I first talked about building a sound diffuser with visual appeal. Once planning was completed the cutting and sanding went on for over a week. This is where patience and good music came in handy. While laying out the pieces in the frame, the need for good craftsmanship became apparent. This is not a project that you can rush. Take your time and enjoy the process. You’ll be rewarded with a piece of wall art that will be admired for its beauty while enhancing the sound of your home theater. This DIY Skyline Diffuser has an alluring, exotic look that I’m confident John and Susan will enjoy.
Out for Delivery and Installation
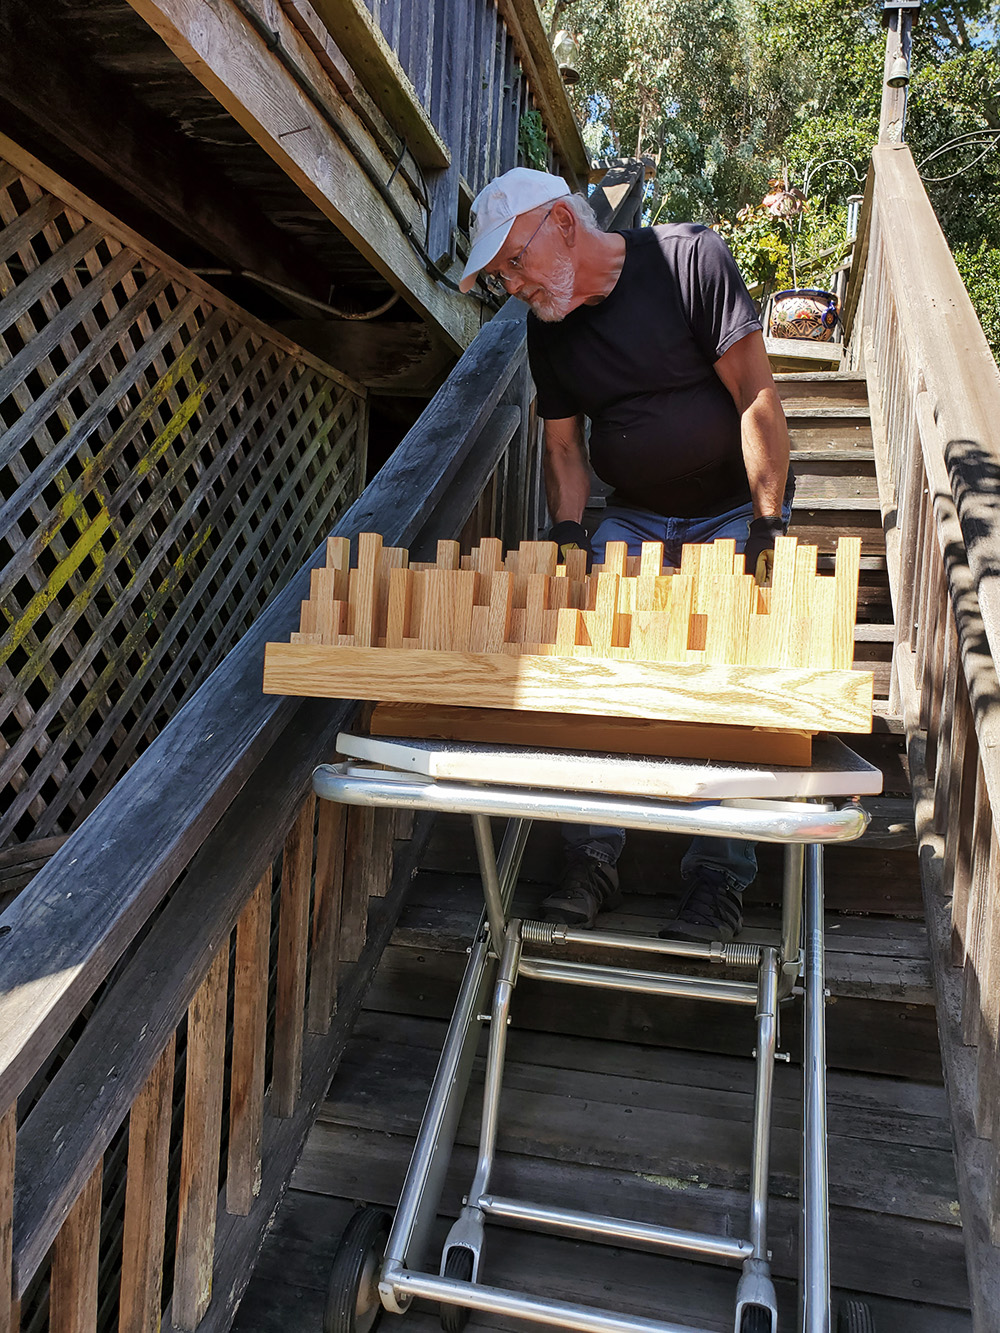
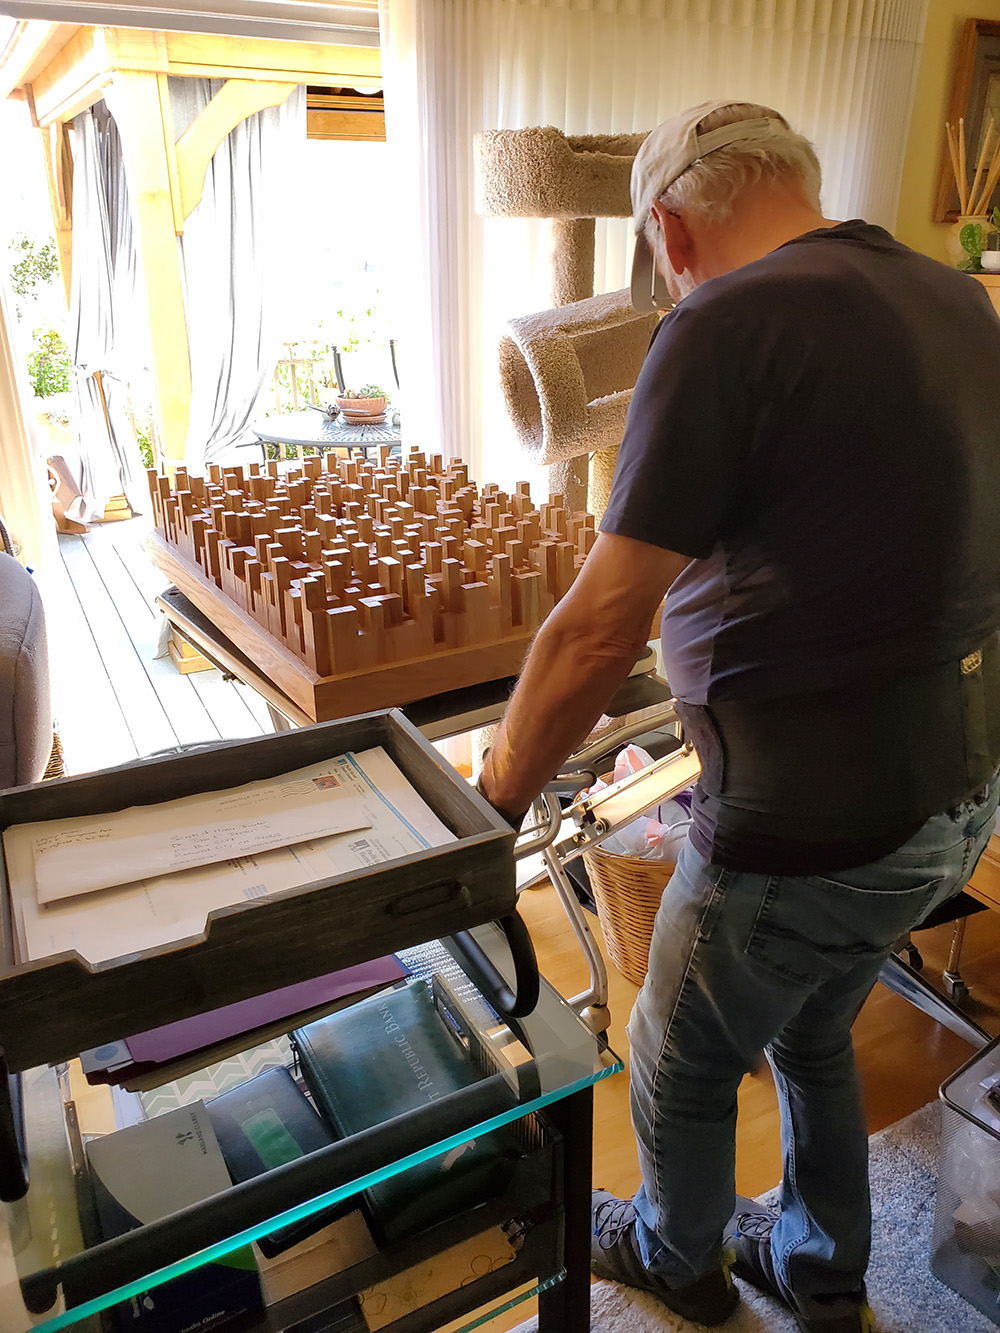
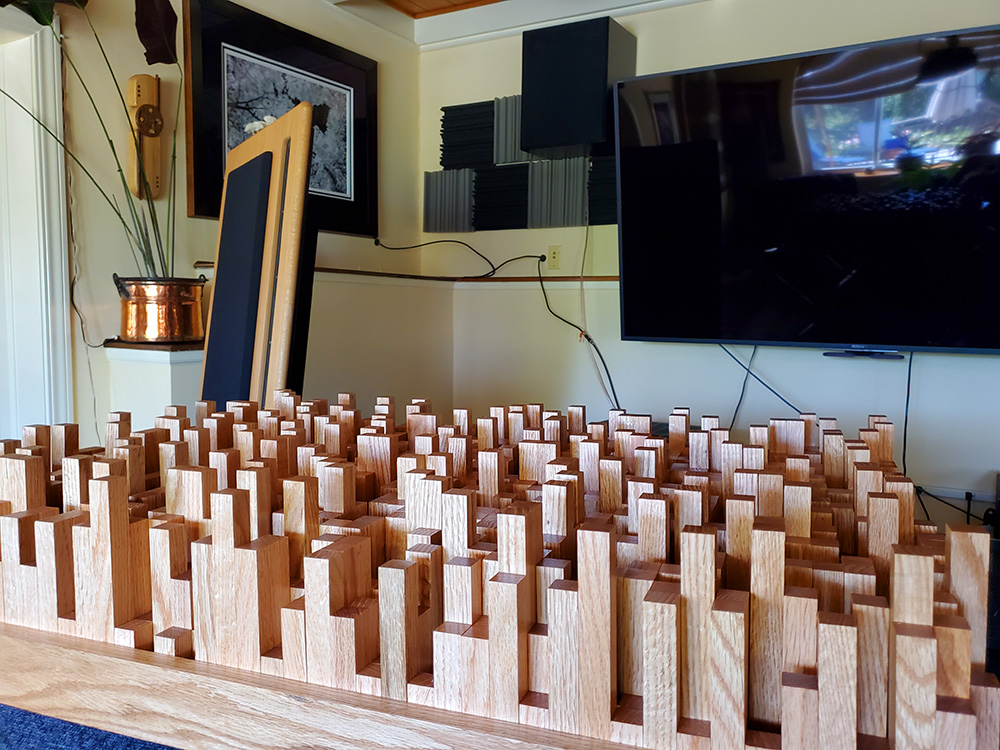
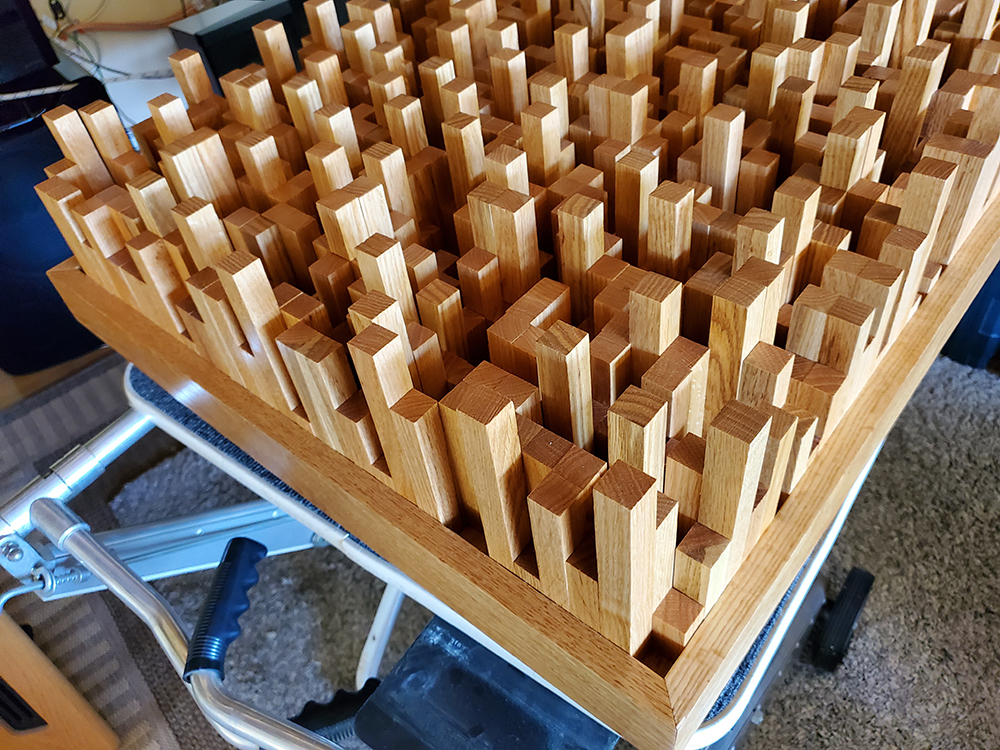
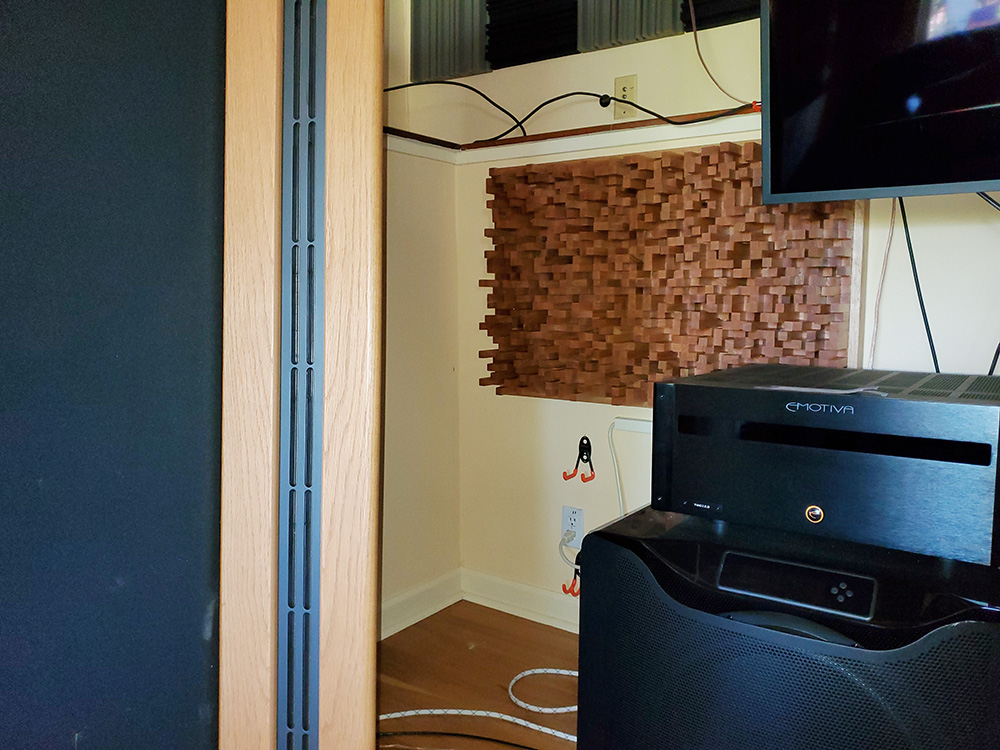
The cost of making these by hand is very high. But it has ¾” pegs up to 6” high and has a mathematically calculated peg arrangement for a specific frequency spread. It took six weeks to create. If you want one-of-a-kind diffusers, designed specifically for your home theater or stereo audio setup, rather than just obtaining stock items, you can contact Gary at [email protected].


