Menu System
The
menu system is very extensive with this projector. Pressing "Menu" takes you
to the following screen, where you can select among Image, Image Adj.,
Picture Adj., Screen, Input, Setting, and Information.

In the Image menu, you can select one of several
presets, including Natural and Powerful, which are the two presets I used
extensively.

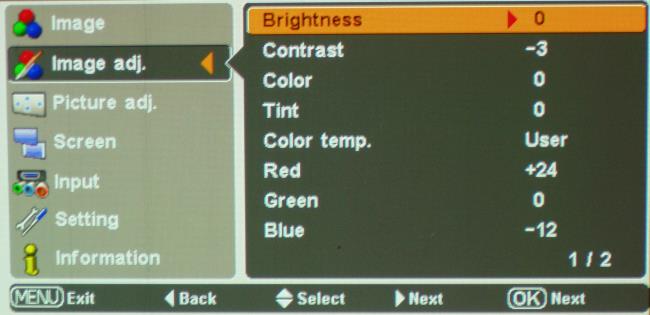
You can adjust the various image items, such as brightness, contrast,
color, tint, etc., using the Image Adj. menu. Here, also, you can adjust the
amount of the individual colors, red, green, and blue. One way of doing this
without an instruments, is to put a black & white movie image on the screen,
and hit the pause button when there is a scene with faces, as well as light
and dark areas. You will be much more sensitive to the image being too blue
or too red when viewing the black & white image.
Shown below is Page 2 of the Image Adj. menu, where you can modify the
Gamma, then go to the Store menu option, and store your settings in one of
the User Image memory banks shown in the top photo.

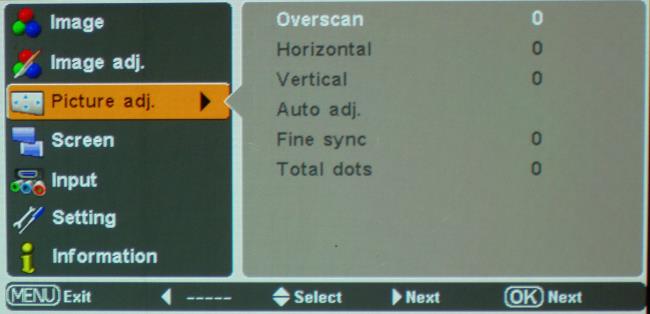
The Picture Adj. menu lets you adjust the Overscan, in case broadcast
codes are visible along the edges of the picture.
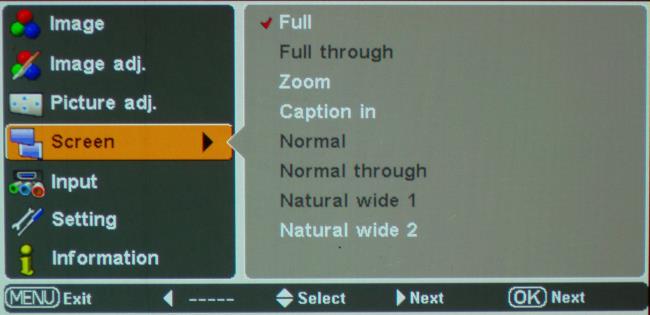
In the Screen menu, you set the aspect ratio, or zoom in to fill the
screen.
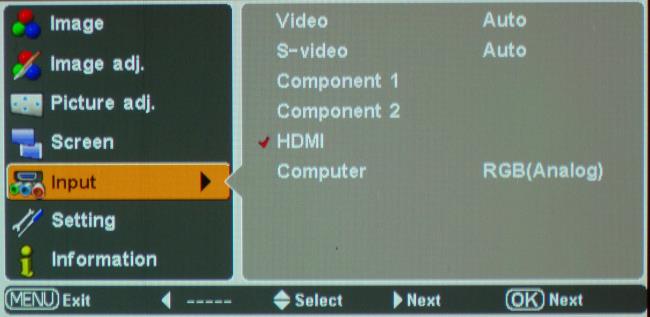
Here is the Input menu.
Click Here to Go to Part
III.

