Set-up
Set-up of the unit was fairly simple, much like any other audio
component. Escient provided a nice reference sheet explaining what all the
connections on the back are for. Once the unit is powered up, the screen
displays a message explaining the unit is starting up. This would be the
boot time you would experience in a typical PC. The startup
time is shorter than I expected, at less than a minute.
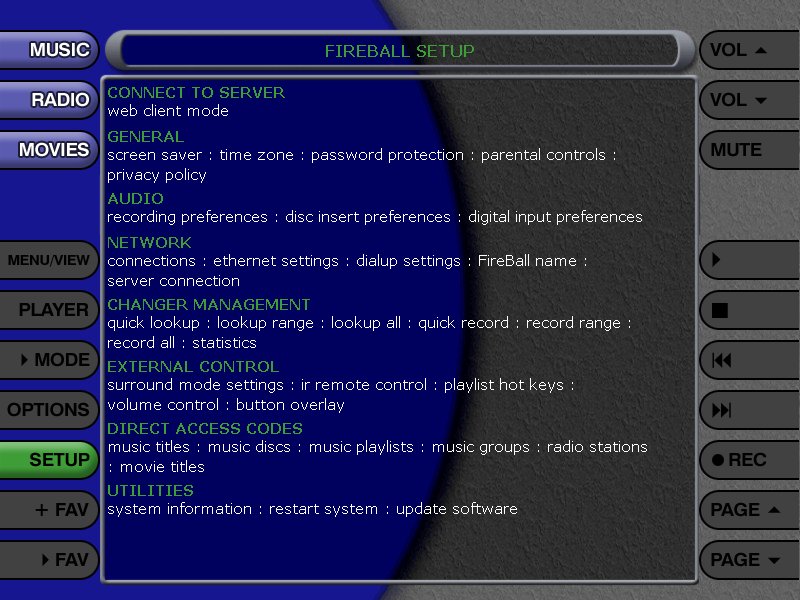
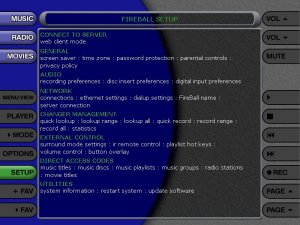
Once the unit is up and running, the set-up menu allows controls of every
aspect of the DVDM-300. You can configure your network options for
static or dynamic IP addresses, configure your DVD changers, and start
indexing your media. YOu can select the bit-rate for music encoding as well
as the default preferences when a disc is inserted for transfer. I would consider an
Internet connection mandatory for the DVDM-300.
Music Playback
The focus of just about every media server we have tested is music. This
started years ago with the ability to encode CDs to MP3 format which enabled
you to get your entire music collection on a single hard drive. Of course,
this had limitations as people with large CD libraries had to use
high-compression ratios. As time progressed and better formats for encoding
music immerged, hard drives also got bigger. Now, devices can store music in MP3 format but also in a
lossless
format. In the DVDM's case, it uses the FLAC (Free Lossless Audio Codec)
format to store music compressed but lossless, while also giving the user multiple bit rate
options (up to 320kb/s) from MP3 storage if you would rather conserve space.
When using the FLAC format, you should expect about a 2:1 compression ratio
from the original WAV files on your CDs.
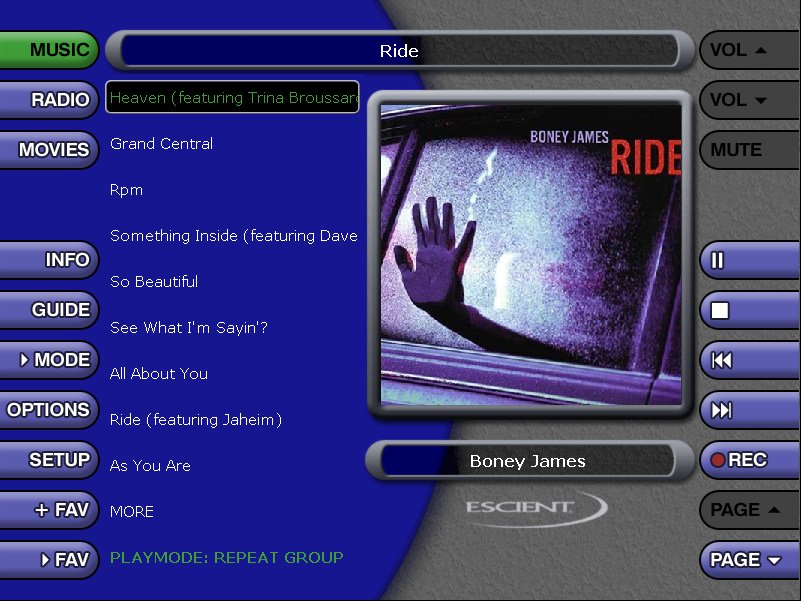
When inserting a CD into the DVDM-300, it can copy and encode the CD to the
unit’s hard drive while looking up the metadata for the CD on the internet
using the Gracenote service. For 98% of your CDs, this will work flawlessly,
and you will be presented with artist, title, track names, and even cover art
for all your encoded CDs. In the case the DVDM is unable to find metadata
on your CD you can put it in manually. You will be thankful Escient included
the wireless keyboard when it comes time to do this.
Getting your full collection of CDs to the DVDM hard drive in this method is
functional, but it is quite time-consuming (although no where near as time
consuming as when I typed the CD titles and artist names into my first 200
disc CD changer manually many years ago).
Escient has given users a couple
of additional methods of getting your media into the DVDM, which should ease
this pain.
First, you can simply sign up for the Escient Quickfire service, which you
use before you actually get the DVDM-300. Escient will
send you empty CD spindles which you put all your CDs on. You fill out a
small questionnaire explaining the format you would like the CDs encoded to,
and then you ship the spindles of your CDs to Escient. In a few days you will get
your CD collection back and your new Escient DVDM-300 with all your CDs on
the hard drive.
If you already have a DVDM, Escient will ship you
your CD collection transferred to DVDs, which you can simply insert into the DVDM’s drive
and it will copy them to the unit. Along with you music collection, you also
receive a nice color binder containing all the details on you CD collection.
The Quickfire service claims to use a slightly different metadata service
than Gracenote which has access to better information.
During the review, Escient offered to let me to pack up 25 CDs to test the service. I of course
wanted to challenge them, so I pulled some non-standard CDs out of my
collection. For the most part they were able to index them perfectly, but I
did notice the one CD I had sent, of a local band, was never encoded (not sure
if they missed it on purpose or just skipped it). I also put in some very
scratched up CDs. In all cases, the scratched CD were properly encoded with
no audible artifacts present. The more obscure titles were missing cover art
but had all the artist and track names correct.
Another method of transferring music to the DVDM is to connect it to your home
network. The DVDM shows up as a network device which can be accessed via
Windows File Sharing as //fireball. You will find two folders on the DVDM,
one called Content and one called Import. If you already have a large
collection of digital music stored on your PC, you can simply drop them into
the import folder, and the DVDM will take care of the rest.
As a final option, you can also load up your CD/DVD changer with CDs and have
the DVDM encode the discs from there; however this process is very slow,
basically at the rate it would take to play each CD. I wouldn’t recommend
this method unless you are planning giving the unit a few days to process
all the discs.
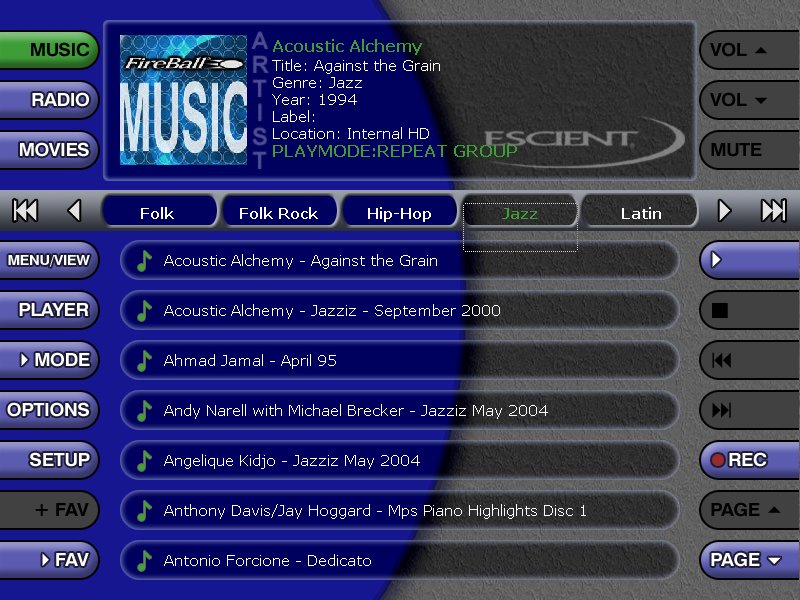
The interface for navigating music on the unit is reasonably intuitive,
although it's a change from the way I have seen most PC-based solutions tackle it.
The DVDM lists Genres of music across the top of the interface (Country,
Jazz, Alternative, etc.) and you simply choose those with the remote by
moving left to right. Included in the genre list, there are additional
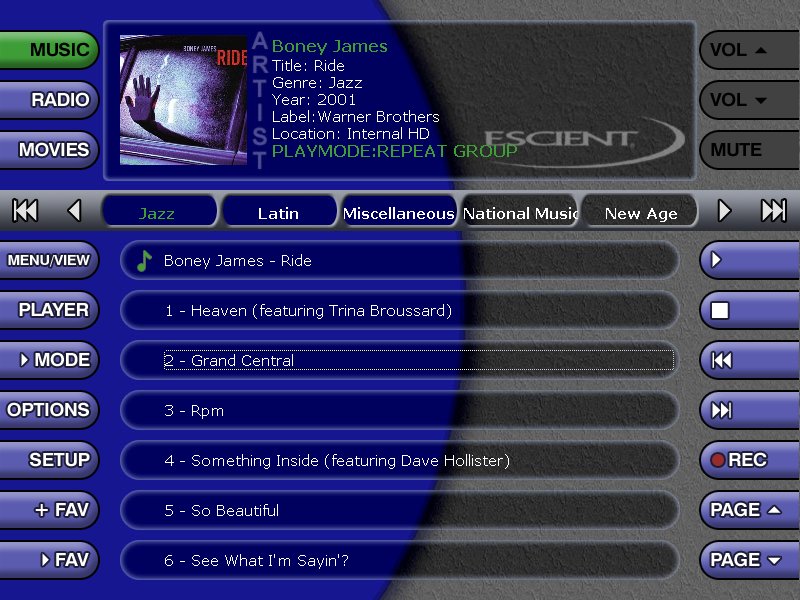
options like All and Playlists. Once you have chosen a genre, you are presented
with a list of albums from the genre which you can scroll up and down
though. Selecting one of the albums allows for a list of songs to be
displayed, and choosing one of those starts the music playing. You also have
the option of having other categories across the top menu such as artist,
title, song, or cover by simply hitting the Guide button on the remote.
Overall, it isn’t a bad interface, and it is quite easy for someone to pick up and
navigate through without reading a manual.
As an additional feature, the DVDM allows the user to create backup CDs
of their music or custom mixes directly from the unit using the internal
DVD/CD-RW drive.
Below are shown several of the Music menus. You can
click on each of them to see larger versions.
Click Here to Go
to Part III.