|
||||||||
|
In Use The HP R707 was a breeze to use. I had absolutely no problems figuring out how to use any of the features. The percentage of "keepers" was very high, ironic since digital cameras take all photos for "free" (both film and digital cameras use batteries, so that cost is cancelled out in the comparison). Shutter lag time was about 0.5 seconds. For that "got to have it take the photo instantly" kind of situation, this is a bit slow. You can speed this up for most cameras by depressing the shutter release half way, which allows focus to be set, and then, when that "instant" happens, depress the shutter the rest of the way, and the photo will be taken (almost) instantly. Battery life (before recharging) is excellent with this camera. I took lots and lots of photos without the need to recharge. There is a little green battery icon in the display that tells you the battery status. This photo (below) was taken at telephoto. AE metering was set to Center Weighted. The edges of all the tiles on this Noahs' Bagels sign are sharp. Shadow detail is good, as you can see the tile edges there too.
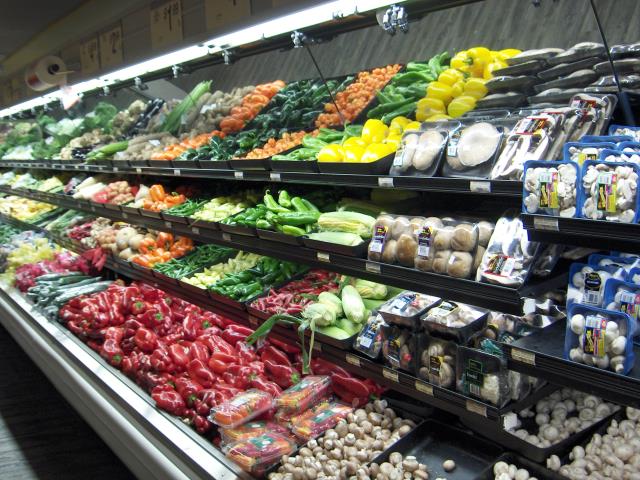
Here is the grocery store vegetable rack that I use as a standard for testing white balance. The first one is with the setting at Auto. It is not as green as with some cameras, and is quite acceptable as is.
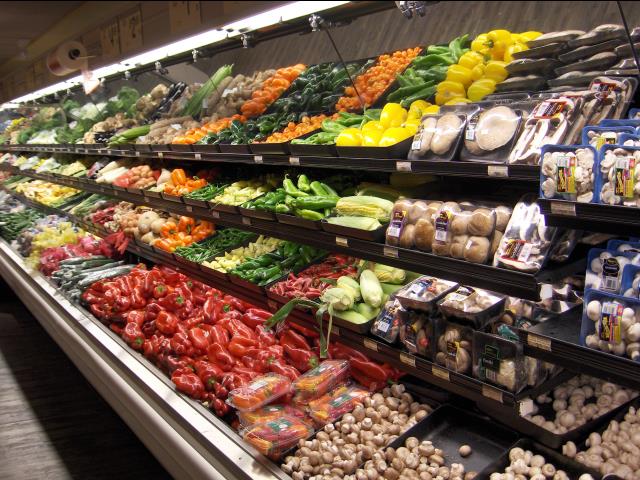
This second photo (shown below) is with the Fluorescent white balance setting. It is a little warmer in overall color than the one taken in Auto white balance setting. The difference is subtle.
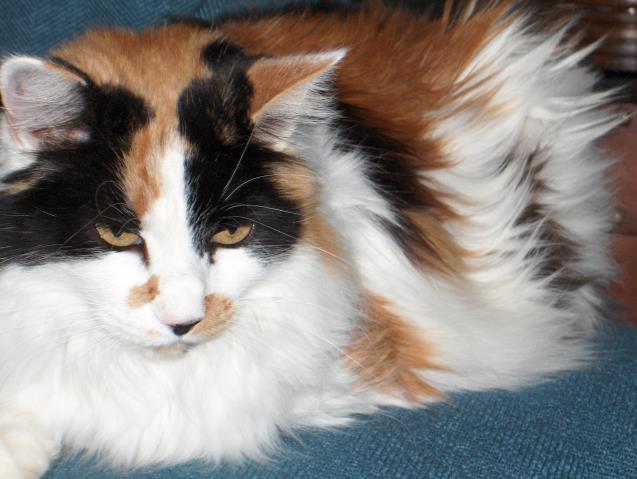
One of my tests is to use the built-in flash to photograph one of my cats, in this case Ginger, up close (3 feet) in a dark room to find out how well the camera focuses without much light and to see if the flash washes out the subject when it is so close. As the photo below shows, the R707 did a beautiful job focusing automatically and giving proper flash exposure.
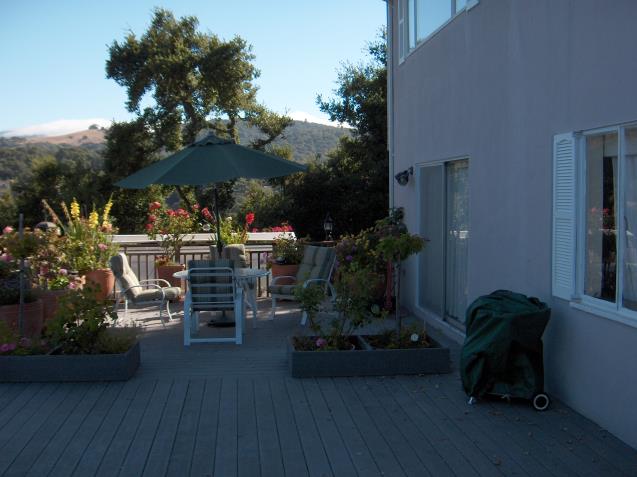
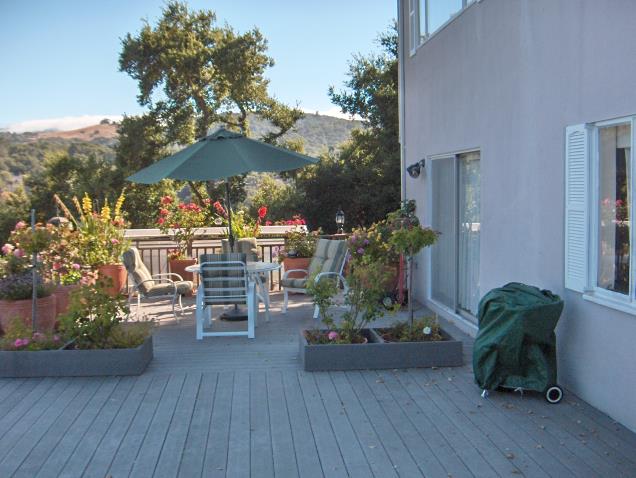
The photo below is of my back deck, in late afternoon, with shadows against the house, and bright blue sky on the left.
Below is the same scene, but with the Adaptive Lighting option active. Notice that the shadow areas are now considerably lighter, but the sky is the same. This is what the Adaptive Lighting processing is supposed to do, and it works very well. I used the maximum setting, and there is a second, less intense processing setting. Gamma is adjusted to give the effect, and you can do this in your photo editing software, but the advantage of having the camera do it for you is that it is done before the image is saved as a jpg. Thus, you don't have to resave the jpg with an additional compression after adjusting the gamma in your photo editor.
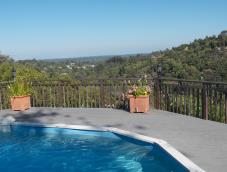
I took four photos of the view from my deck, with the camera in Panorama mode. After each photo, a high contrast section of the right edge moved to the left so I could line up the next section to the right of the first photo. Then, when I loaded the photos into my computer, ArcSoft Panorama Maker automatically booted, and I was able to stitch them together to produce this panorama. The software is easy to use. The corners on the panorama are rounded off because the software adjusts the perspective.
Here is one photo from the panorama . . . photo # 2. You can see where it fits in the panorama above. This is a wider total field of view than Cinerama ever had. It is a very nice technique to use on vacation, of mountains, the ocean, the Pyramids, etc. You can use it for taking pictures of a large group of people too, like a wedding, as long as everyone sits still while you turn the camera for each shot. The best results will be obtained if you rotate around the camera's "film" plane rather than rotating your body and causing the camera to move in an arc.
When you connect the camera to your computer, using the supplied USB cable, and assuming you have installed the included HP software, you see this screen that asks you where you want the images transferred to.
You name the directory, click Start Transfer, and then you see this screen:
Then, the HP editor comes on, and it looks like this:
You can work with the images here, or just close the screen and use your regular photo editing software. The whole process was very simple and easy to use. On the Bench The Putora Test Chart is shown below. The white balance is a bit off, being slightly blue, but this is easily correctable in any photo editing software. All test charts were photographed in full sunlight outdoors.
The resolution portion of the Putora chart is shown below, at full size. Resolution goes to number 7, and then begins to deteriorate at number 8. This is about right for a 5 megapixel sensor, but also shows that the lens is good.
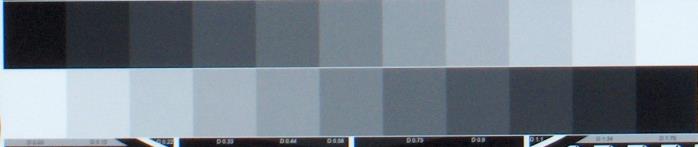
The gray scale portion of the Putora chart is shown below. It is a bit soft, perhaps a little underexposed (using Auto exposure setting). I saw a little more noise in the darker sections than I have seen with other cameras, but it was not objectionable.
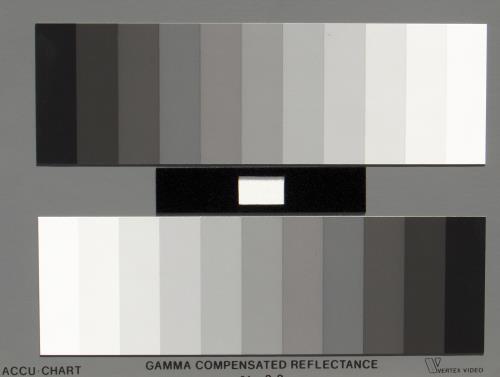
The Accu-Chart gray scale does not show a blue cast, but is, rather, right on. All gray shades are shown beautifully. So, obviously, the camera adjusted its white balance between subject changes.
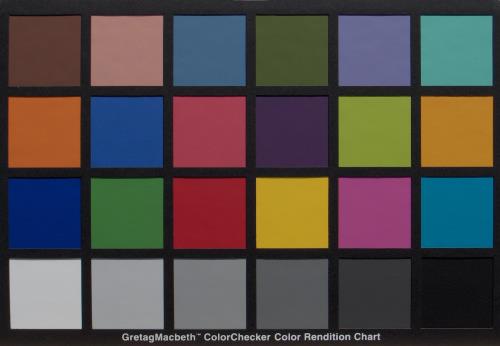
The Macbeth Color Checker is OK for color tint, but somewhat underexposed.
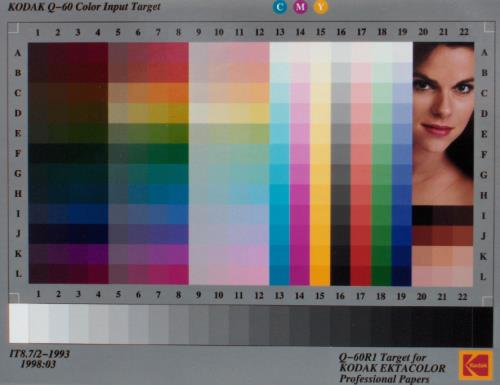
The Kodak Q-60 color chart shows a natural skin tone. But again, a bit underexposed. I would suggest going to a custom exposure and saving it in the "My Mode" menu. The pictures need a little more exposure.
Conclusions The HP PhotoSmart R707 is an excellent new product from Hewlett-Packard. I guess we should not be surprised that they have applied their computer savvy to make a great set of features easily accessible from the camera menu. At $349, it will be very competitive.
- John E. Johnson, Jr. -
|
||||||||


Magazine Publishing Solutions by