For short runs, this can be done in about 1-2 hours and for about $25 in parts. Don’t forget to review all warnings at the bottom and be sure to have all the needed tools and parts before you begin.
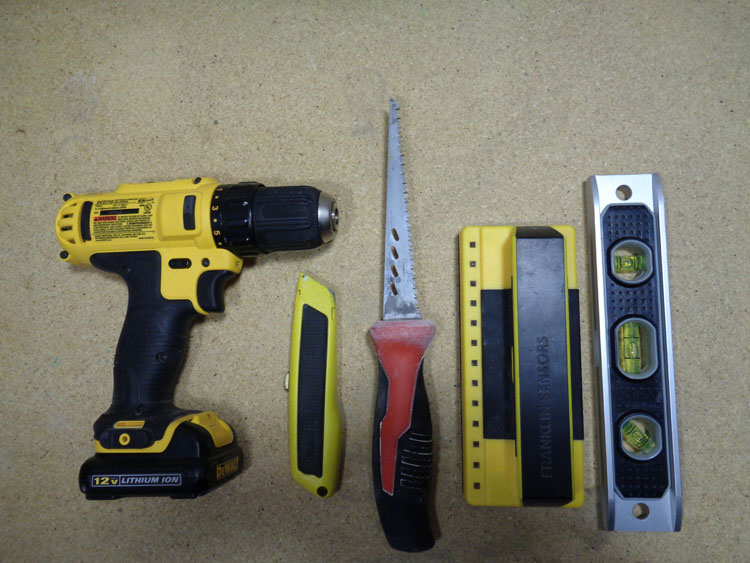
- Drill and/or screwdriver
- Razor blade/box-cutter
- Drywall knife/saw
Secrets Sponsor
Pro Tip – You can use a power saw to cut drywall but it makes quite a mess and gets drywall dust everywhere. It’s also dangerous because you don’t want to cut any wires or pipes in the wall.
- Stud Finder
- Level and Ruler
You will need two of each depending on the type of install you’re doing.
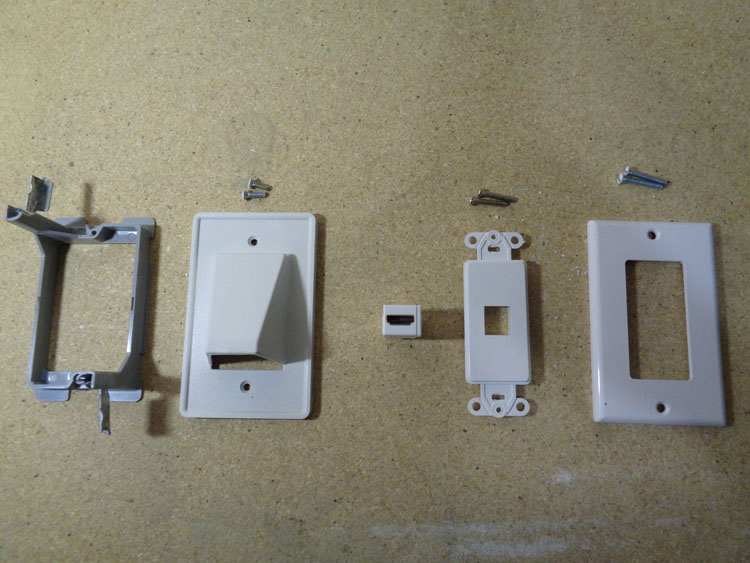
From left to right:
- 1-gang retro ring
- 1-gang nose plate
- HDMI Insert
- 1-port insert plate
- 1-gang wall cover plate
Secrets Sponsor
Check the wall for any obstructions like studs or pipes using the stud finder. Also check the path the cable will take, some homes may have a horizontal firewall.

Place the 1-gang retro ring on the wall in between the studs in the spot you’ve chosen.
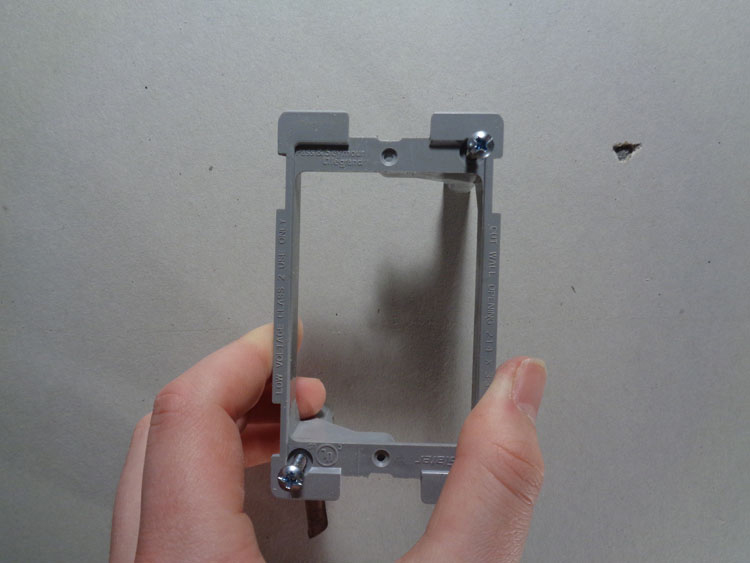
Turn the retro ring over then…
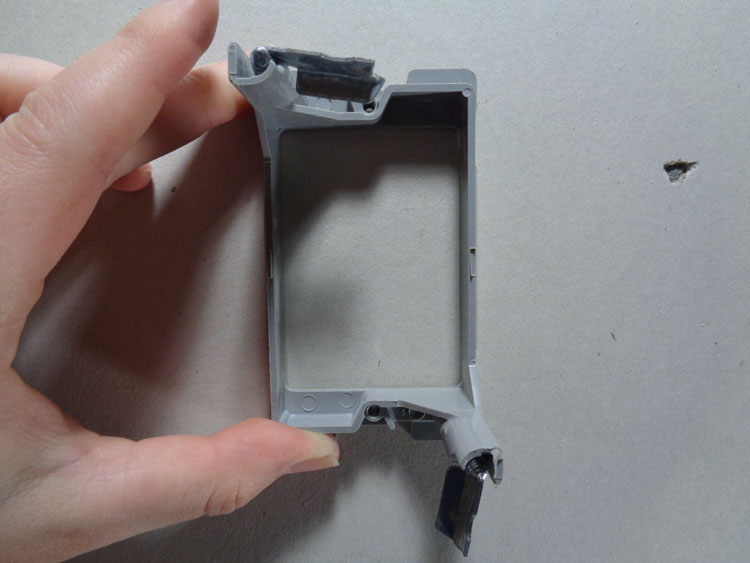
Score the outside of the retro ring on the drywall with the razor blade
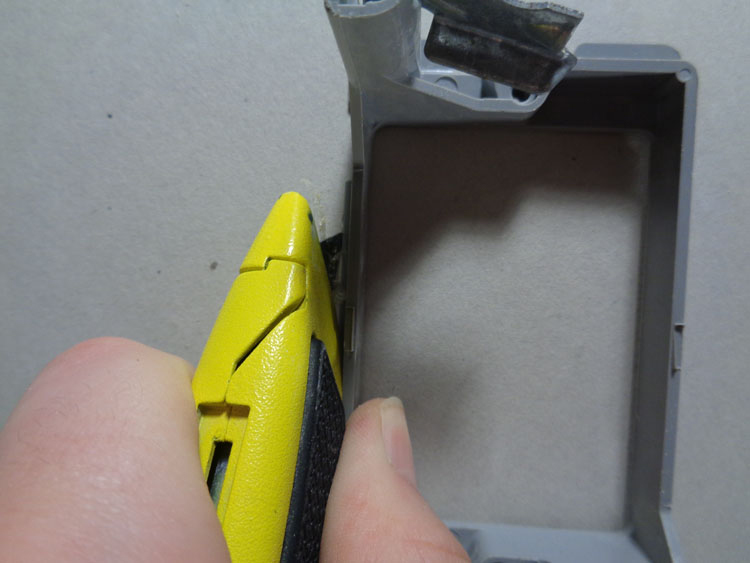
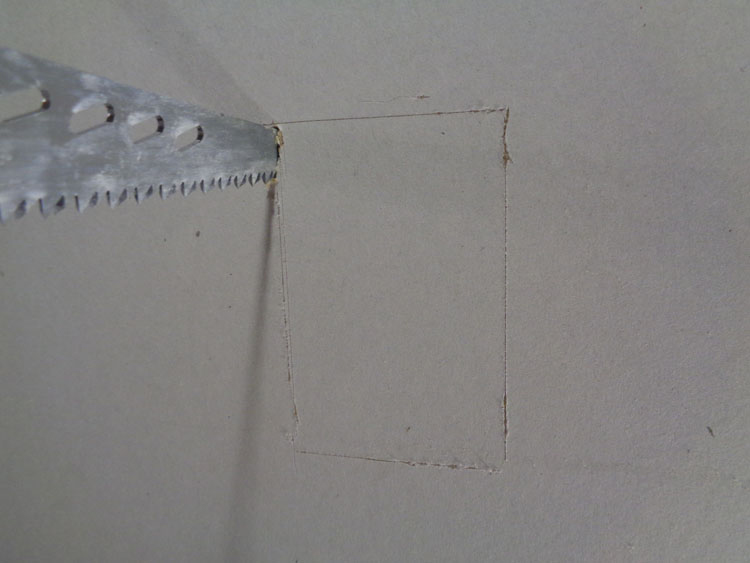
After you finish scoring, take your drywall saw and cut along the inside of the line you just scored, go slow and make sure you’re not cutting anything else in the wall. If you feel extra resistance, stop and check before continuing.
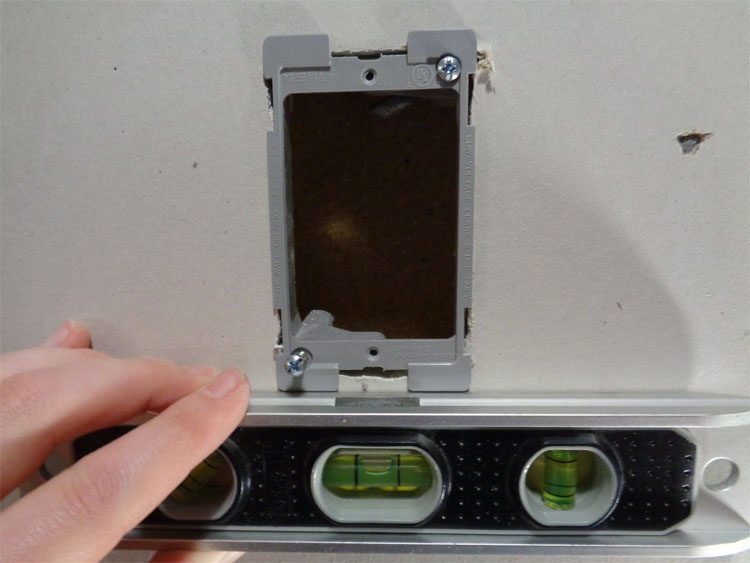
Place the retro ring in the hole you just cut and make sure it’s still level. At this point you can run your cables through the wall. If you’re going just a few feet, from a wall mounted TV to a lower entertainment center for example, it should be easy to fish the wire down.
Start by feeding the cable down the top hole until you can see it in the bottom hole.
Pro Tip – Fish the wires from the top down first, wiggle them in the wall and use a flashlight to check the bottom hole for the cable as you fish it down. This only works in a vertical direction. The wall’s studs prevent horizontal runs.
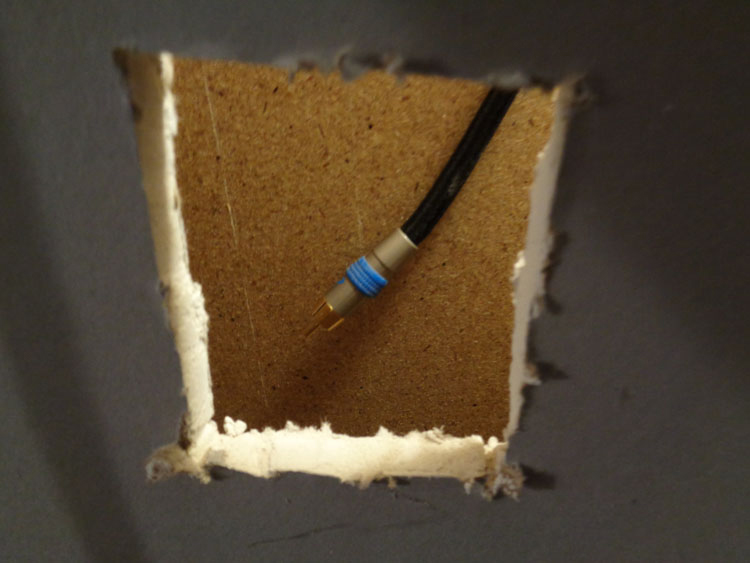
If you still can’t see it, use a flashlight to look into the hole and find the cable.
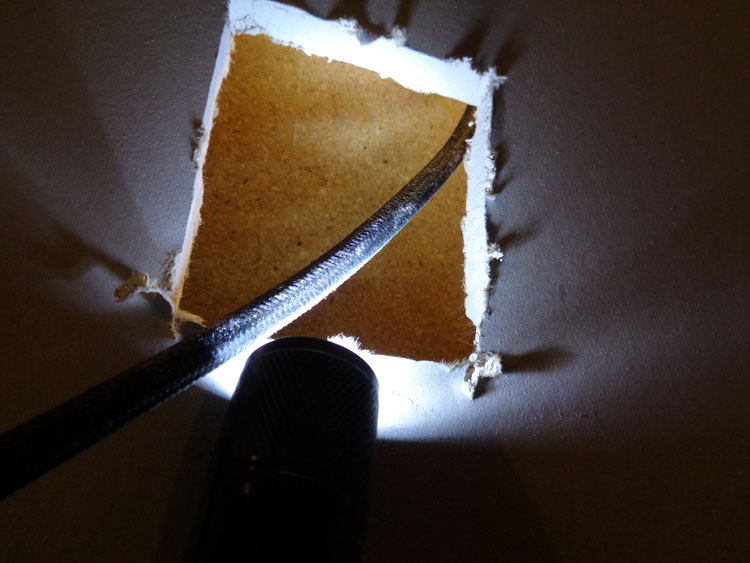
Now pull the cable through the wall.
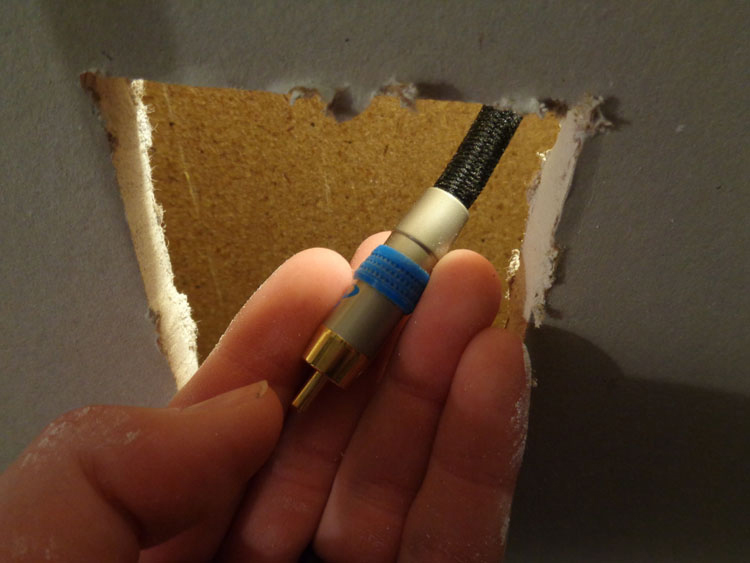
Done, it should look something like this!
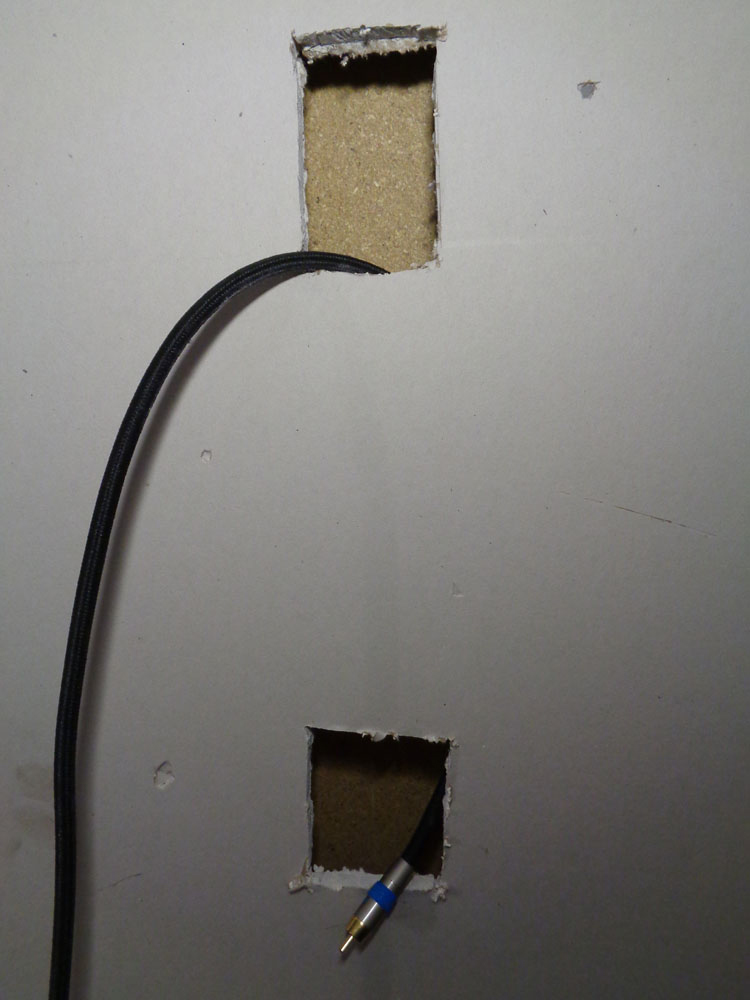
Now that the cables are in place, put the retro ring back in the hole in the wall and tighten down its retaining screws. Do this by hand so you don’t flex the retro ring and it remains flush with the wall. Make it snug, but not too tight.
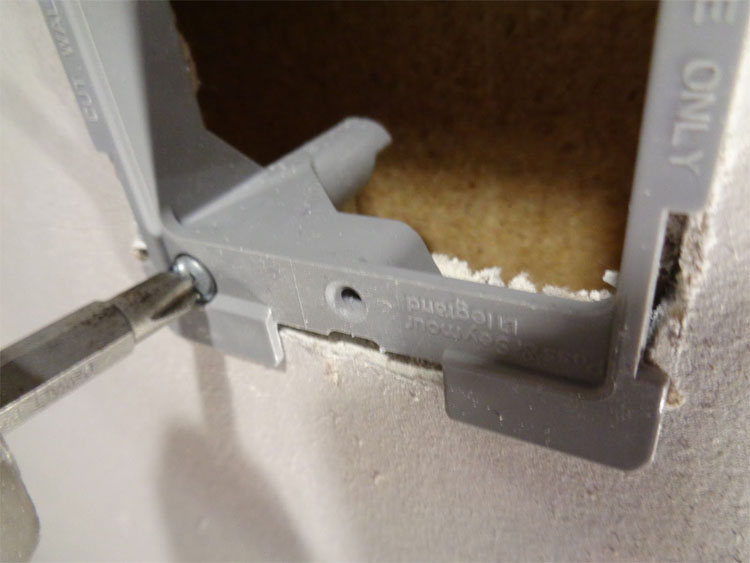
From the back, this is what the retro ring will look like. Notice the dog-ears are extended and holding it snug to the wall.
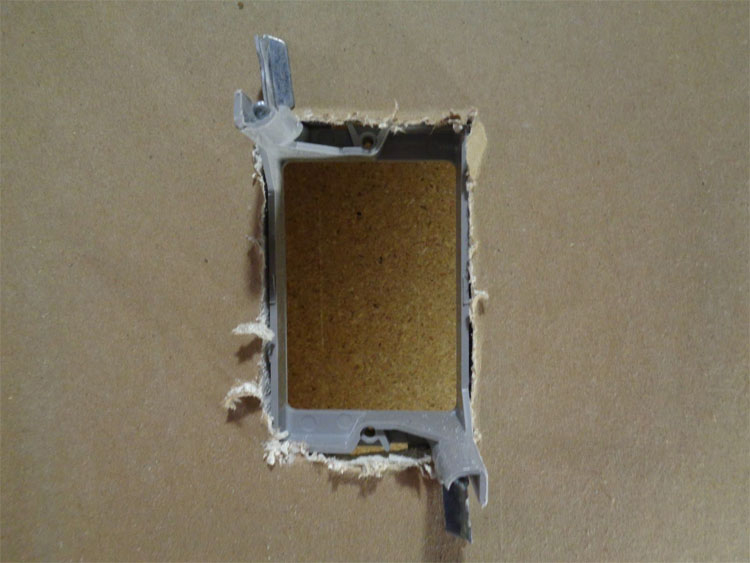
Skip to step 10 to see how to install a HDMI wall plate.
Now you can install the nose plate. This is useful for short (under 5ft) cable runs through the wall. It also makes it easier to change out cables as needed and ensures a clean signal path because you are only using one cable to complete the run. I like to use this setup for running just one or two cables, like an HDMI cable up to a TV from an entertainment center located below.
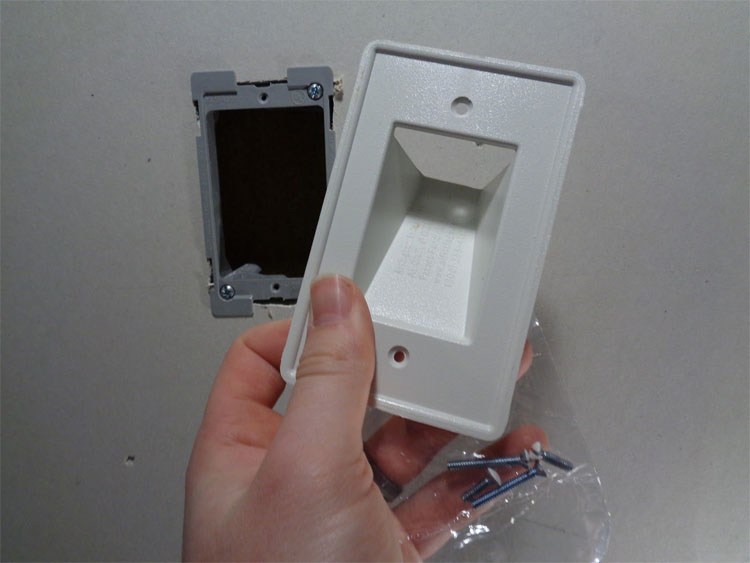
Now you can screw in the nose plate to make sure it fits. I like to have the opening pointing down as shown because it can’t easily be seen inside the wall. However, you can flip the plate around to prevent the cable from taking a tight bend if necessary. Try both orientations to see which one works best for you.
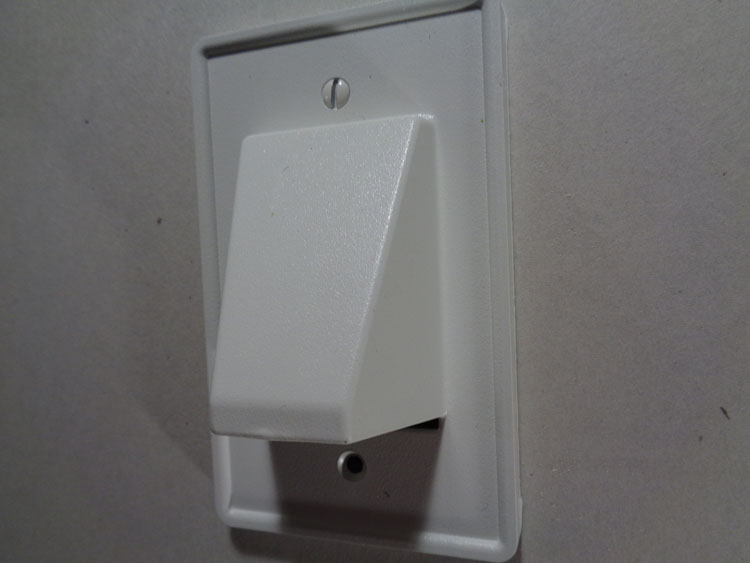
And here is what it looks like behind the wall as I start to feed an RCA cable into the nose plate. I am feeding the cable upwards. Note how the cable does not bend too much with the nose plate in this orientation.
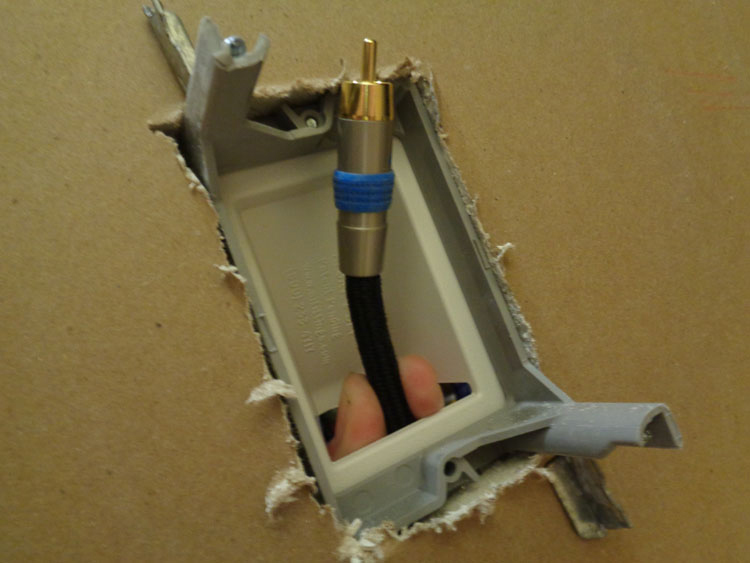
This is how to install a HDMI insert plate, from step 8.
Unbox the 1-port and HDMI inserts and clip them together as shown. It should snap in with ease.
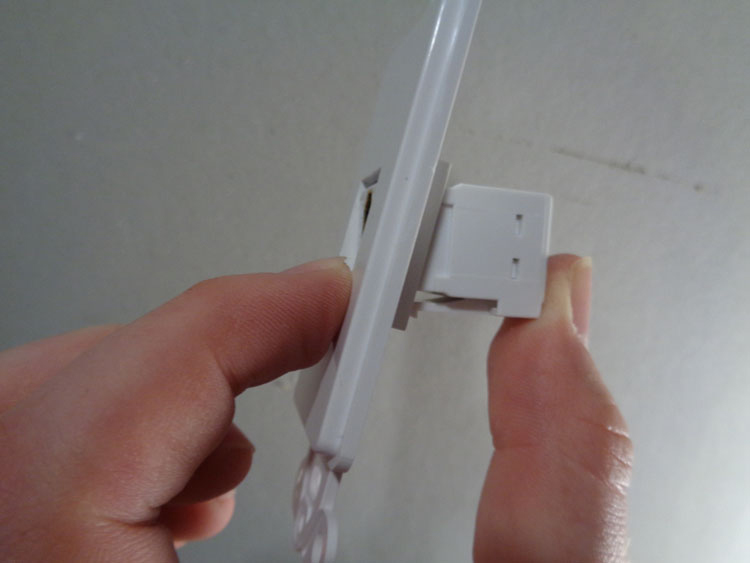
Done, it should look like this!
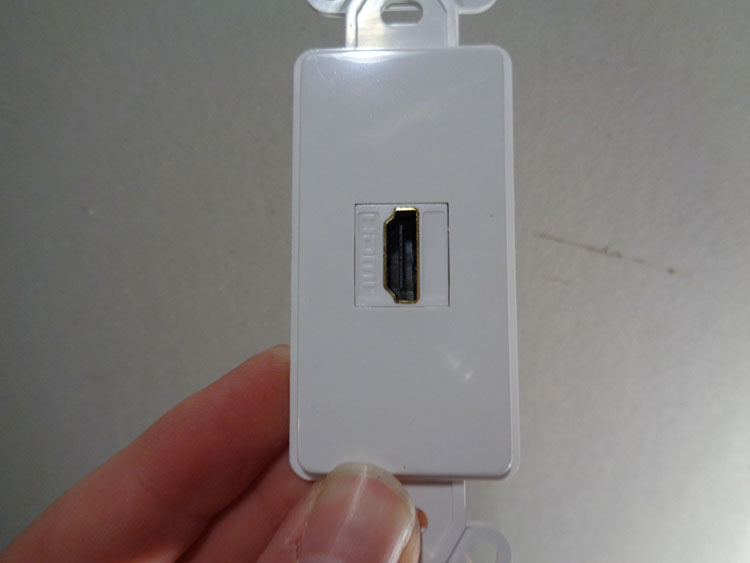
Attach the 1-port plate to the retro ring with two screws, do not over tighten.
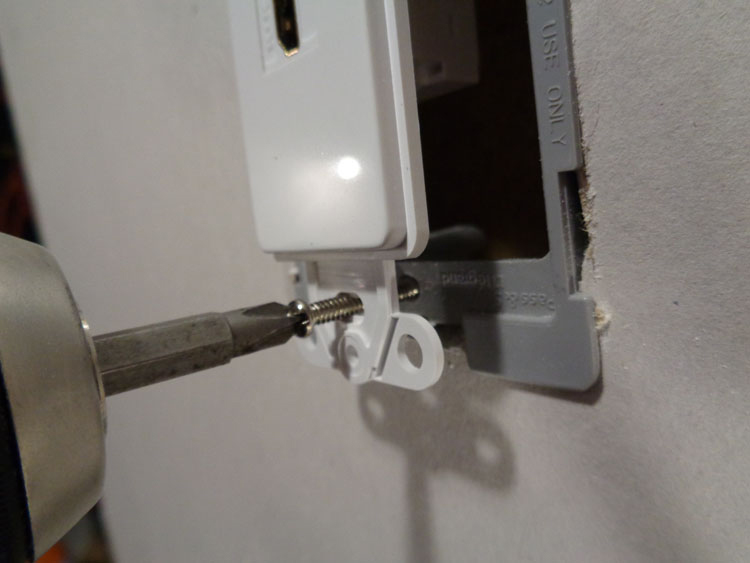
Done, should look like this!
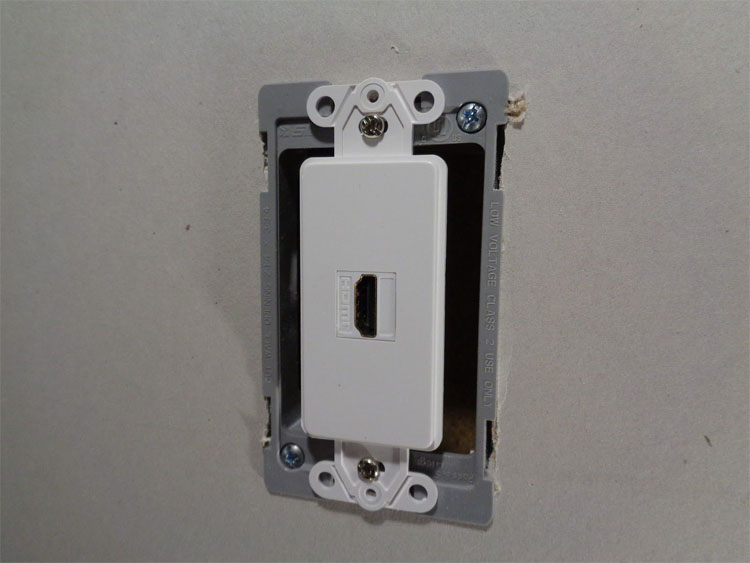
Install the 1-gang cover plate for a clean, finished look!
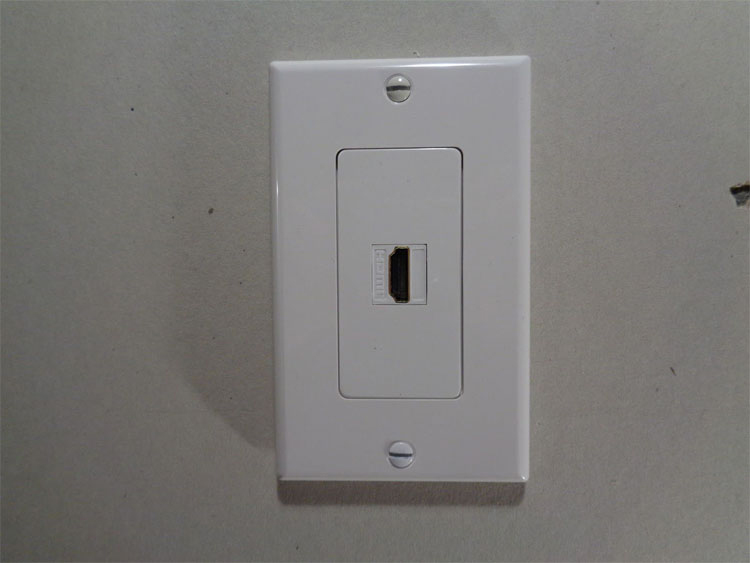
And this is how the plate will look from inside the wall.
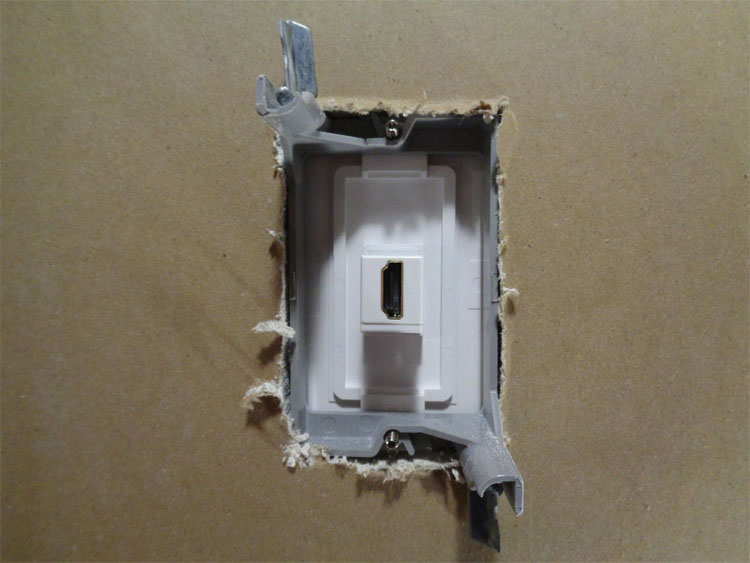
Pro Tip! – Sometimes you have a choice between screw lengths, the longer ones will set the plate farther off the wall. This is helpful on tile, for example, where you need more clearance. I like to use the shortest screws I can so they don’t interfere with the cables in the wall as I run them.

For short cable runs, that’s all there is to it! If you have any questions, leave them below in the comments! I hope you enjoyed this step by step DIY, if you would like me to cover anything else, let me know!
- This guide is NOT for running Romex and/or other high-voltage wire or cable in your home, call an electrician to do that work for you. I am not an electrician and unless you are, do not try it!
- Take care to not hit any Romex or water pipes in the wall. Pay attention when working near bathrooms or kitchens and use common sense as to where pipes might be in the wall.
- This guide is for running a cable vertically in an interior wall only, because of studs in the wall and furring strips in block walls, this guide does not cover how to do horizontal runs.
- Use only certified CL3 rated cables rated for in-wall use!


