Infrared
OK, so, for the infrared photos, I used the
50mm Macro lens, simply because that was the only lens I could get the right
size filter to attach on the front. It meant I would not have the super wide
angle shots that I was getting with the 15mm-30mm lens, but I still got some
nice photos.
A deep red filter can be used, but it is
advisable to use one specifically made for infrared photography, such as
Wratten 87, Hoya R72, and others. Remember, there are two "infrared" filters
involved here: One is the filter mounted between the lens and the sensor. It
eliminates the infrared light and allows visible light to pass; The second
one is the filter you put on the front of the lens. It eliminates visible
light and allows infrared light to pass. You use one filter or the other,
depending on the type of photography. You don't use them both at the same
time.
I shot all the infrared photographs in RAW
mode, then processed them with Adobe Lightroom 1.0. The reason for this is
that you can't simply use the photos directly out of the camera. They have a
red appearance and are very low contrast. With a conventional camera,
to take infrared photos, you need to use infrared film, which is black &
white.
When the infrared photos are completed, they
are black & white, and foliage appears white, because it reflects a lot of
infrared light.
I found that an exposure from 1/30th sec (in
deep woods) to 1/200th sec (full sun) at f/11 gave the best exposures
(Manual Exposure setting on the dial). Depending on the direction of the
sunlight, 1/60th sec sometimes was better than 1/200 sec, so I generally
shot each full sun subject at both 1/60th and 1/200th. I used a tripod,
unscrewed the front filter, composed and focused the subject, then screwed
the filter back in and took the photos (you can't see any image through the
viewfinder with the filter on, because it filters out all the visible
light). One of the reasons I used f/11 is that the focal point for infrared
is slightly different than for visible light, so I wanted the extra depth of
field.
Here is the first example, near a pond by the
main house.

In this second example, you can see the sky
provides a beautiful dark contrast to the white foliage.

Remember
that shot of the patio in color?
Well, here it is in infrared.

Depending on the direction and angle towards
the sky you take the photo, it can appear dark or light. Here is the clock
tower.

Look at this shot in a different direction.
The sky is black. You can also see that some foliage reflects more infrared
than others.

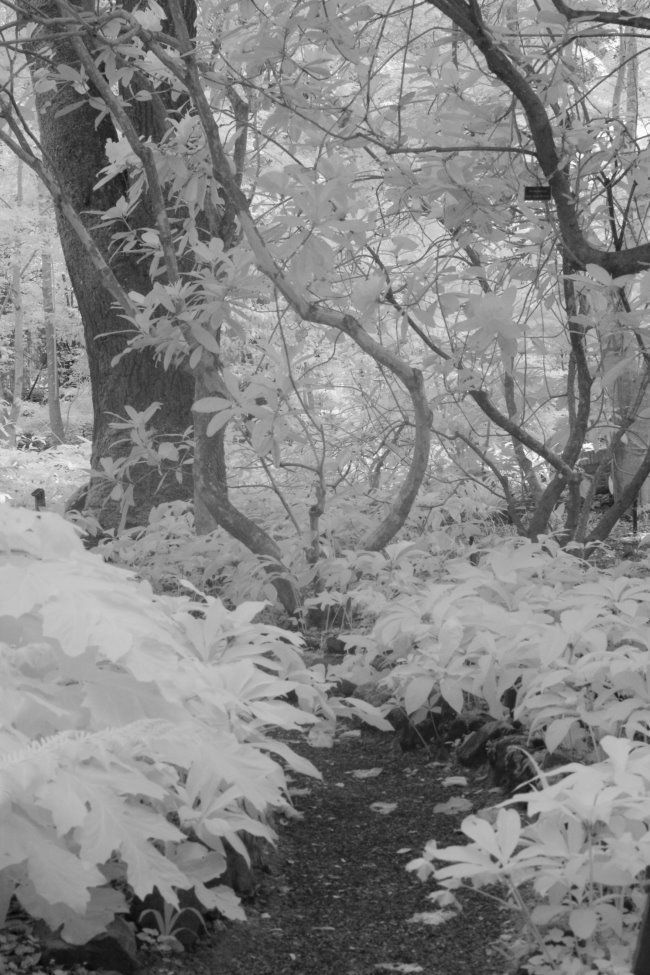
Even in deep woods, the foliage is so light,
it almost appears to be covered with snow. I shot this both at 1/30th and
1/60th, f/11, and the 1/30th was the best.
Go to Part V.

