Introduction
We have reviewed the Sanyo
PLV-Z1 and
PLV-Z2 projectors, so it is natural for us to take a look at the Z3 as
well.
The differences between the Z1 and Z2 were
principally a matter of resolution. For the Z3, the resolution is the same
as the Z2 - 1280x720, as well as the brightness at 800 ANSI lumens.
Although Sanyo has hinted that there is a dynamic iris in the
Z3 (this works by the iris closing down in a dark scene to make the blacks
really black, and opening up in the bright scenes to give the whites more
snap), there is no mention of it in the instruction manual. However, there
is a lamp mode menu (Bright, React Image 1, React Image 2, Theater Black), which changes the
lamp brightness during various
types of scenes. Here is a URL for Sanyo's explanation:
http://www.sanyo-lcdp.com/english/product/plvz3/plvz3.html.
We suspect that the lamp brightness changes are
automatic, but that the iris changes are manual ones that you make with the
remote control to adjust the overall brightness. Sanyo should clarify this
issue on their website and in future instruction manuals for the Z3.
In any case, we found the Z3 to have excellent contrast
when we watched movies, and we would rather have a feature that is not
sufficiently explained, but which works very well, than a feature that is
highly touted but which works poorly. The Z3 also adds an HDMI input (HDCP-compliant).
Inputs
The Z3 has two sets of component video inputs, while the Z2 only had one.
Besides the HDMI input, there is a composite video input, S-Video input, and
computer RGB input. The Z2 had a DVI input rather than HDMI.
Controls
Most of the controls for the Z3 are accessible through the buttons on the
top of the projector, just as they were for the Z2. So, if you want to
change inputs, aspect ratio, alter the color balance, etc., you can do so
while standing next to the projector, but it is really easier to just use
the remote control for everything.
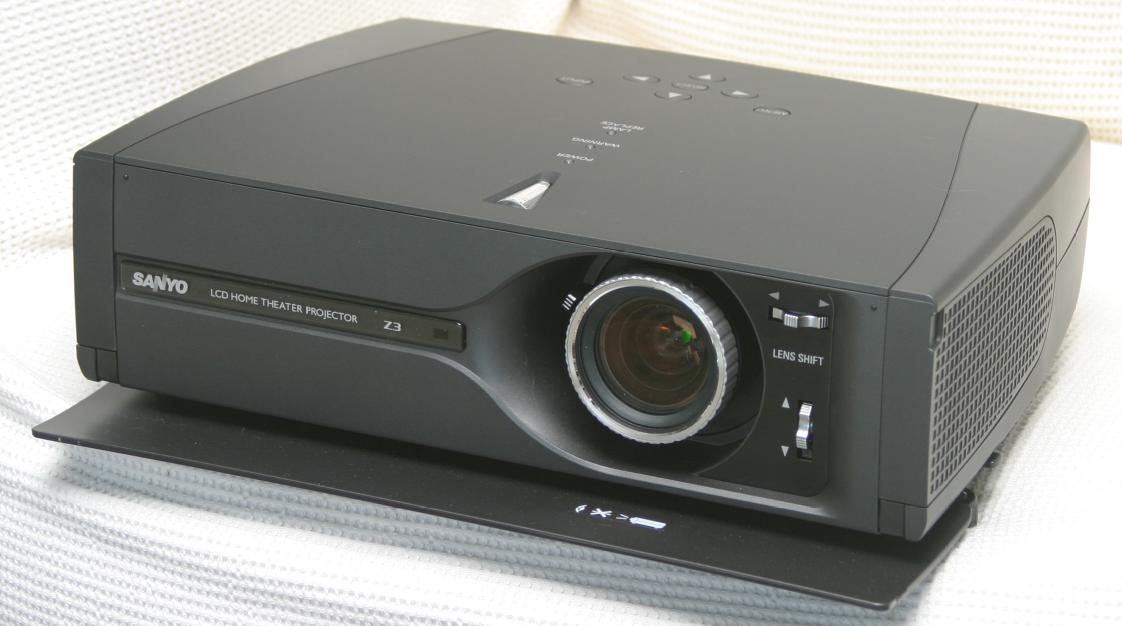
On the front of the projector, next to the lens are
manual controls for lens shift. Previously, I did not concern myself whether
or not a projector had this feature, but I am now inclined to give it more
importance. Being able to shift the image just a few inches to the left or
right, without having to move the projector, is a big advantage. It is
simply convenient if the projector is on a coffee table, but if you mount
the projector on the ceiling, and then mount the screen, the probability of
the projected image lining up exactly where you want it is not very high.
Lens shift lets you make that final inch or so adjustment. Also, if the
projector cannot be mounted directly on axis with the center of the screen,
you can shift the image so that it still in centered.
The photo below shows the lens shift dials to the
right of the lens. On the lens itself, you can see the zoom control.

On the rear panel, there are plenty of inputs,
including two sets of component video inputs and one HDMI.

The remote control is very nice. The buttons are
well placed, and the items that you would likely use most of the time are
there, rather than things you might not access very often. It is backlit for
easy viewing in the dark.

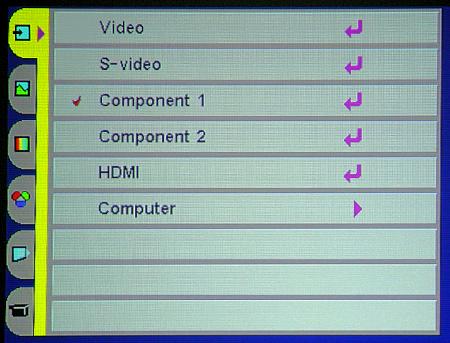
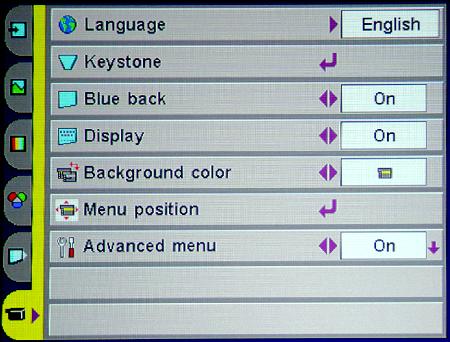
The menus are easy to use too. Here is Menu 1, for
selecting the inputs.
The second menu shows the various resolutions you
can choose for inputs.

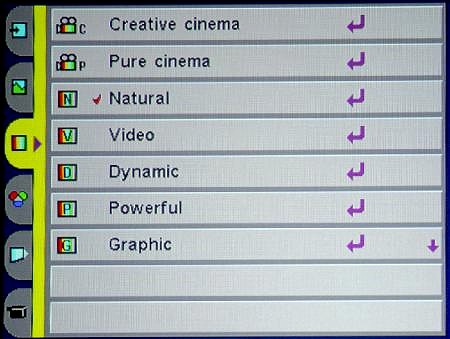
The color balance menu is not very intuitive, but
running through them with an image on the screen shows you what you will
get. I finally ended up using "Powerful" for most movies. It gave me the
intensity I wanted. You can start with the settings in one of these choices,
modify them, and then store the settings in 1 of 4 memory banks for recall.
Here are the basic color adjustments.

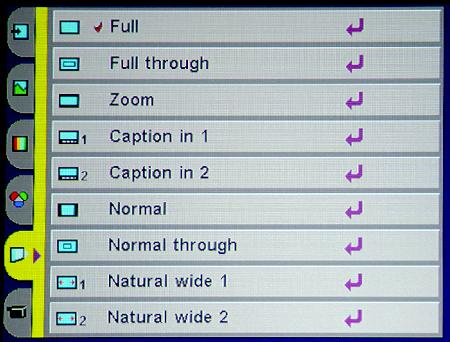
Aspect ratios are selected here.
Basic functions are chosen here.
Click here to go to Part II.