

Introduction
While at CEDIA last September, I witnessed a demonstration of the OmniMount LEDP75 wall mount kit and was fascinated with the ease of installation and the uniqueness of the design. From the initial cutting to mounting took the technician about 15 minutes. The fact that they were also giving away a free LCD flat panel from Samsung did not dissuade me from watching the demo either. (No…I did not win).
Not being particularly handy with a dry wall saw or particularly adept with assembling anything with nuts and bolts, I made a mental note to follow up on this demonstration and see if someone like me could actually install this kit without difficulty. The following review will detail my experience with this universal flat panel TV wall mount kit which has an MSRP of $249.
Installing the LEDP75
After a brief exchange via e-mail with OmniMount, I was graciously sent the LEDP75 kit. The LEDP75 is designed to hold a plasma or LCD flat panel up to 75 pounds with a 23-60 inch display surface. Most LCD panels are paper thin and weigh in at less than 30 pounds. The TV I had in mind to mount was my (OK, my wife’s) Samsung 42” plasma (PN42C450) which weighed in at about 38 pounds without the stand. Normally, we at SECRETS review A/V products that you plug-in to watch or listen to, but with the plummeting prices of flat panels these days, I thought a mounting system review would not be out of line.
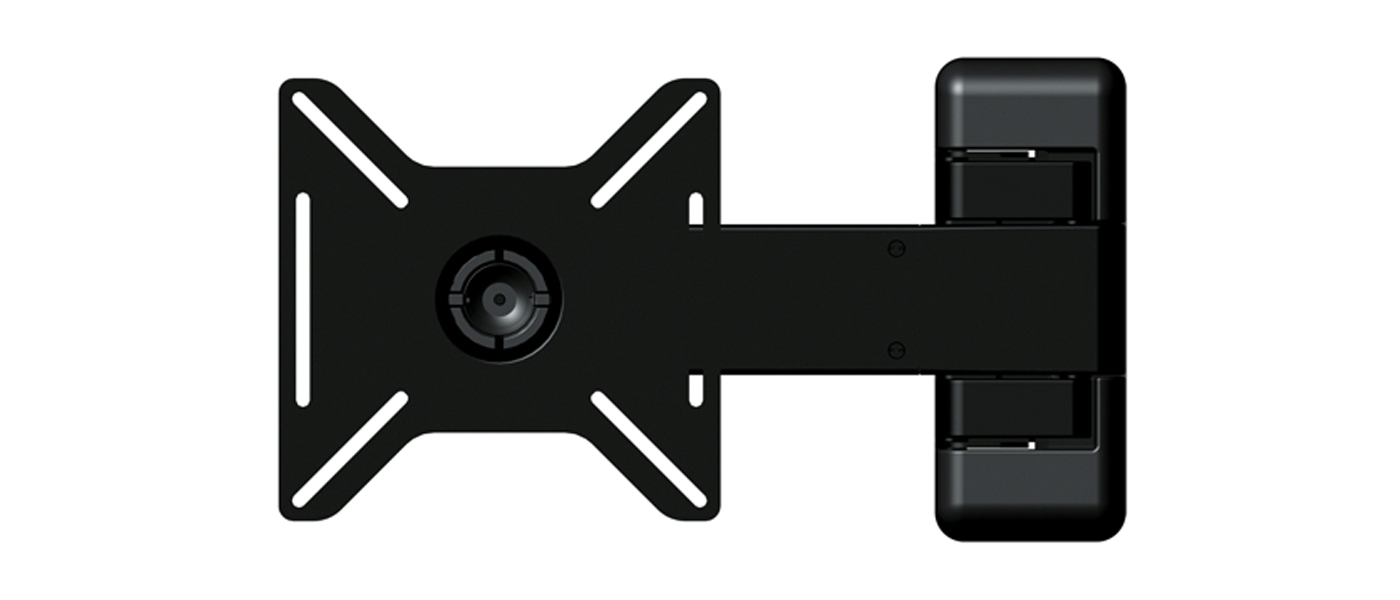
So, what are the features of the LEDP75 that set it apart from the dozens of other (and let’s be honest, cheaper) mounting kits available today? First off, I was intrigued by the dual-mode installation which allows for an “on wall” or “in wall” application. Besides the usual pan-tilt of +/- 10 degrees, it also offers swivel and a lateral movement from its arm extension of almost 11.5 inches.

The arm is designed to extend forward or nest completely into the mount itself. The arm is made of extruded aluminum with a brushed, anodized finish that also conceals the cabling. An installation template is included for both on/in wall installation. I chose to go with the in-wall. The on-wall bezel has knock outs for the cable management and serves to cover the mounting hardware. The trim plate can also be painted to match the wall, if you want. All of this comes in an eco-friendly box that is very neatly laid out. All of the screws, nuts, anchor bolts and adapters are well organized and labeled.

I learned the hard way that when opening the package of screws, you should open them from the front and not from behind as the contents will spill out all over the floor. Fortunately, I was able to select the hardware I needed and place the unused parts in a box. It almost seems wasteful to have all of the extra stuff, but isn’t that the idea behind having a universal mount? They provided the hardware for almost any type of panel manufacturer available, so installations can be done quickly without additional trips to the hardware store to get some esoteric bolt for the back of your particular TV.
With template in hand, I had already decided (OK, my wife decided) to do the in-wall mount. I recommend a stud finder as you’ll need a standard 16 inch spacing, and as an extra safety check, an electrical wire locator. I was going to mount this almost directly above my electrical outlet near the floor and did not want a nasty surprise while cutting into the wall. I need to mention here that my house is an older converted “summer home” on the beach, and the previous owner built most of it himself and he was not a professional carpenter.

That said, my stud spacing was just a bit under the normal 16 inch spec. I used a Dremmel sheetrock cutting tool which allowed me to quickly and efficiently cut out my templated spot. As I suspected, the width of the opening was just tight enough to prevent the mount to fit properly. With my Dremmel, I was able to shave just enough off one of the studs to remedy the situation. Oh, I might also mention that this particular wall did not consist of standard 2x4s, but was made with 2x3s. See what I mean about surprises? This did not prove to be a problem as the mount easily fit in the less than ideal depth anyway. Whew!

Once my opening was cut, I set the mount into the opening and secured it with the supplied bolts into the studs. If I had chosen the “on wall” mounting, the mount simply flips around and is then bolted through the sheetrock, into the studs. How nice to have that option!

Mounting the bracket onto the back of my Samsung only took about 10 minutes, and the included hardware also came with the appropriate wrenches to tighten everything up. For a finished look, a trim plate snaps on the out edge of the mount, concealing any rough sheetrock cuts and the mounting hardware. I opted not to paint it as it would be behind the mounted TV and out of view anyway.

For cabling, I had the power cord and 2 HDMI cables to contend with. My HDMI cables were 16 foot, flat cables from Kordz. In reality, I only needed about 12 feet, but better too long than too short. The TVs power cord was just long enough to reach the wall outlet. If I need a longer one, I could easily have gotten one on-line in almost any length needed. (Check your local codes, as putting a power cord in the wall may not be permissable). The arm of the mount has a cable concealer that did a fine job keeping things neat behind the TV. It was a tight squeeze, though.

I would recommend a standard “round” HDMI cable as the flat HDMI cables took up a lot of space inside the arm.

With my plasma screen removed from its base, I lifted it onto the extended arm and it “snapped” into place (See arrow). Lifting a 42 inch plasma display by myself meant having to feel around the back to make sure the harness bracket was in line with the arm. This is a job best done with two people.

I can see why LCD panels are so popular. Picture quality aside, they are also lighter. OmniMount is not responsible for dropped displays, so be careful! Once my cables were hooked from my Blu-ray player and DirectTV box, I was ready to enjoy the fruits of my labors. The mounted panel was easy to move about and the tilt angle was perfect. Viewing was easy from almost any seat in the room. The panel felt very secured and there was no wobble in the wall mount bracket. Wow! There is a definite “cool factor” seeing a flat panel that looks like it is just floating on the wall.
Conclusion
The LEDP75 is a truly universal mount that proved to be very easy to install. The demo at CEDIA was completed in less than 15 minutes and mine took about 45 minutes. Afterall, I had to stop, read, fetch my Dremmel and snap pictures as I progressed. Still, it was a very easy project. The mount is very solidly built and really slick looking. My wife absolutely loves the ability to tilt and swivel the panel to match her seating on the couch. The arm glides smoothly and effortlessly. The folks at OmniMount provide you with everything you need to mount your flat panel with a professional flare, all with eco-fiendly packaging and a detailed instruction manual. With flat panel prices in freefall, the LEDP75 would be an excellent compliment for your viewing satisfaction. I highly recommend this mount. (OK, my wife does too!)-