

Introduction to the Frugel-Horn Mk3 – DIY Flat-pack Loudspeaker Kit
It is surprisingly easy to build a high performance speaker for considerably less than purchasing a commercial product. All it takes is a few inexpensive tools, the right plans, a little time and patience. Even for those with little to no construction aptitude. So what to do if you’re like me and are able to screw up the most basic home improvement projects, yet still desire to build your own speakers? Answer: Flat-Pack speaker kits.
Enter the Frugel-Horn Mk3 loudspeaker flat-pack offered by Victoria BC’s Planet-10 HiFi. This is a ‘most everything you’ll need’ kit that comes with everything but the glue and clamps. It is not only dead-easy to build it also looks great. And the sound, surprisingly impressive, with a potential frequency response of 40 Hz to 30 kHz from a 4†driver (actual response varies with driver choice and corner placement).
FRUGEL-HORN MK3 – DIY FLAT-PACK LOUDSPEAKER KIT SPECIFICATIONS
- Design: Horn-loaded Speaker
- Driver: 7″ Mark Audio Alpair 7
- Construction Material: 15mm – 18mm Baltic Birch
- Revc: 3.600 Ohms
- Fo: 69 Hz
- Sd: 50.24 cm²
- Vas: 3.48 Ltr
- Cms: 913.149u M/N
- Mmd: 5.456 g
- Mms: 5.660 g
- BL: 3.342 T•M
- Qms: 2.015
- Qes: 0.803
- Qts: 0.574
- Levc: 0.0188 mH
- No: 0.135%
- SPLo: 84.5 dB
- Xmax: 4.4-mm 1 way
- Pwr: 20 Watts Nominal
- Dimensions: 35.2″ H x 6.8″ W x 17.8″ D
- Weight:
- MSRP $550 (Including Cost of Driver that I chose; See Page 2)
- Frugel-Horn
- SECRETS Tags: DIY, Speakers
Design and Setup of the Frugel-Horn Mk3 – DIY Flat-pack Speaker Kit
The Frugel-Horn Mk3 began as an open-source DIY project to develop a small, inexpensive, full-range rear-loaded corner horn. It is not often you see ‘small’, ‘full-range’ and ‘horn’ in the same project. Reason being the lowest frequency a horn speaker can produce is directly related to the size of the horn mouth. To output 20 Hz bass the mouth needs to be 16′ x 16′. The Frugel-Horn design (and all small mouthed horns) is a hybrid transmission line/horn which enables it to get low and stay small. A transmission line extend the low frequency response of a speaker by channeling the rear wave off the speaker through a long pathway filled with stuffing material.

This slim unimposing speaker is 36″ tall, 6″ wide and only 18″ deep at the base. Given the flexibility with bass tuning by way of stuffing the front chamber, you can place these speakers as close or as far from the wall as you require. These can almost disappear in your room.
That is not all that makes this speaker kit special. The ease of build, multiple driver options, and extensive support all combine to making this a fantastic build for both the novice (me) and experienced builder alike. And speaking of options, you can either purchase the full kit with choice of drivers (approximately $550 plus tax and shipping for the configuration I chose), or use the free plans (Frugel-Horn Plans) source your own wood and drivers for all for under $150. That is per pair, for a fantastic sounding and looking speaker.
The flat-pack kit provides 18 mm utility-grade Baltic Birch plywood baffles (all other pieces are 15mm), cut, rebated and dadoed for easy assembly. With rebates for the driver and holes cut for the terminal cups. Also included is hook up wire (cry’od 24 gauge copper) damping material, terminal cups and drivers (if you choose). You will need to supply the glue and some tools.

Drivers
Not every speaker driver will be available forever. Sometimes they are upgraded (and hopefully improved) and many times they are flat out discontinued. As every driver has a finite production life so does every speaker design. Any good speaker is a careful balance between driver capabilities and box design. You just can’t plop any old driver into the same hole and expect it to sound good. So one of the goals in designing the Frugel-Horn project was being able to use multiple drivers. The current Mk3 design has been proven to work with the following drivers:
- Fostex: FE126e, FE126En, FE127
- CSS: EL70
- Mark Audio: CHR70, CHP70, CHBW70, Alpair7
- Tang-Band: W5-1611
There are many other drivers being tested with this speaker which ensures long relevancy with this design. For my build I chose the Mark Audio Alpair 7 (with full treatments done by Planet-10 HiFi.) I came to this decision with help from Dave at Planet-10 HiFi (he answered many of my newbie questions before even making the sale). He recommended this driver as my amplifiers are higher power solid state designs and I have a large open listening room.

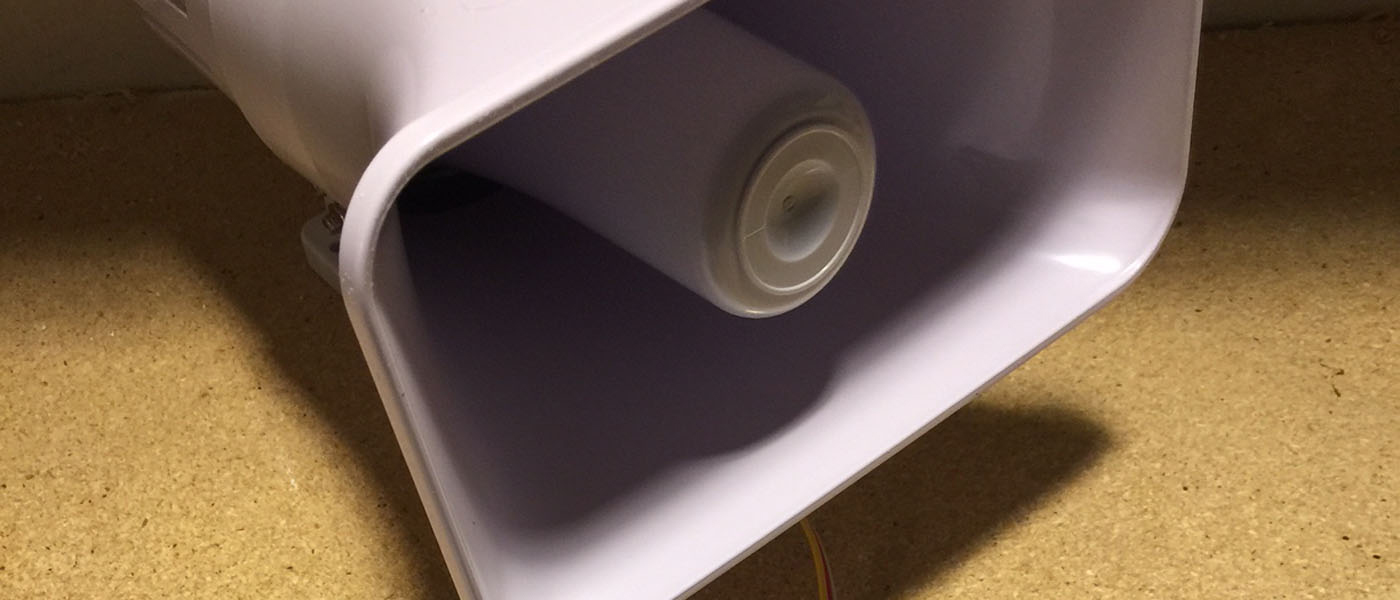
What makes the Alpair 7 interesting is the care and attention that goes into this driver. First the cone made from a special Japanese four alloy mix and constructed with a multiform process (reported by Mark Felon as the best way to achieve the ultra-tight tolerances he required). At less than .06 mm thick the dust-cap is also created using the multiform process. The custom designed surround (by Lui Yi Ping) is made from a blend of micro-fiber and butyl, is the softest and thinnest used by Mark Audio as of yet. The spider is also custom designed (by Tadashi Matsubara San who has worked with Fostex) as with the cone, both of the suspensions adhere to extremely tight tolerances. Even the connectors are custom built. These are not your average off the shelf drivers, these are 100% custom designed, hand built and tweaked with input from the DIY community.

Out of This World Service
Planet-10 HiFi does more than just source the drivers for their projects, they also QC each driver, test and match pairs of drivers, then take those stock drivers and tweak them with a variety of treatments. Each driver is first run in with low level music for 200-400 hours (a must with Mark Audio drivers), then they are measured again and if found out of spec they are not used. Each driver is EnABLed, a process that involves painting small dots and dashes on the cone, dust-cap and mounting ring. This is a hotly debated tweak created and patented by Bud Purvine (patent # 5304746), and guaranteed to cause many spilled pixels. As I do not have a pair of non-EnABLed Aplair 7 drivers to compare I am unable to comment on the improvement gained by this process. Once the EnABL process is complete (which is very tricky to do on the sensitive cones used in the Alpair 7) the drivers are measured again and sorted into pairs based on their new specs. Planet-10 HiFi looks for the drivers efficiency to be within ¼ dB, and various other T/S specs will need to be within 3% of each other to become a pair. Depending on the driver there could be additional basket treatment, and then they are repackaged for safe delivery. All this ensures you receive a properly matched pair of drivers, something some major manufactures don’t even bother to do.

And aside from providing custom tweaking, quality control, and speaker design, Planet10 HiFi is there to help you at every step of the process. I received prompt email replies to my inane questions I was sending at 1 o’clock in the morning. All before spending a dime, and way before talk of a DIY article.
Dining Room Speaker Factory

The pictures show that I built my speakers in my dining room. While I do have a large shop and plenty of room to build in there, my dining room is far cleaner and much more organized. And besides, this was a very easy build and shows that even apartment dwellers can build this speaker. Provided you have some basic tools. The following is my complete parts and tool list:
- Hammer
- Drill
- Wood glue (yellow carpenters glue)
- Clamps
- More Clamps
- Soldering iron
- Hot Glue Gun
- Screw Driver
- Scissors/Knife
- Masking Tape
Construction
I built the speakers up to the finishing stage in one weekend. I first glued the panels together, then soldered the wire to the driver clips and the terminal cup, I pre-drilled the holes for the terminal cup and driver, then installed them. At this point they were fully operational, and I started listening to them in all their nude plywood glory.

The first step was to glue the inside and back pieces to the dadoed side piece. Here I inserted the smallest piece of wood included between the inner and back pieces. As the fit was very precise I had some difficulty. I lightly tapped the pieces into place with a hammer and wood block to ensure that they went into the dado recess as far as possible.

The I tapped and clamped everything together and made sure to keep everything square. I was careful to place wood blocks between the clamp and the plywood so the pressure was evenly distributed and I did not dent the nice pieces.

Once dried I then glued the top, front and bottom. For the first speaker I glued and waited for each piece to dry individually before I moved on to the next. For the second I glued all three at the same time. It took longer yet was much easier to build it one piece at a time. Even though I taped the pieces together to keep them square the pressure from the clamps did cause slight movement, however was able to sand down the imperfections.
Before I glued the final side piece in place I hot-glued (white glue + clamps could also work) the felt damping material to the inner, side and back pieces. Every piece except the front baffle received damping material. The damping material was trimmed to fit, with the dark side glued to the plywood. The final damping material piece was glued to the last side board after the whole speaker was assembled. This required cutting the piece to fit and laying it in place before the final side board goes on. I reached through the driver mounting hole after the final board was on to press it into place.

Before I placed the final board in, I hot-glued three pieces of old speaker wire in the lower part of the front chamber to prevent the stuffing that goes in the front chamber from falling to the bottom of the speaker. Each driver has specific damping instructions. I used the Mark Audio Alpair 7 which meant using 30 grams of stuffing in the rear chamber and up to 40 grams in the front chamber. In the rear chamber I distributed the stuffing evenly (by weight) when done the narrow part (bottom) was very dense, while the widest part (top) was very loose. I started without stuffing the front chamber opting to stuff it some listening tests (just remove the driver and stuff it through the cutout). The stuffing decreases bass response which is dependent on the boundary locations and personal preference.

Once the glue dried I pre-drilled holes for the terminal cups (on the back) and drivers (on the front). I soldered one end of the included 24 gauge copper wire to the terminal cup and the other to the driver’s mounting clips. I poked a hole in the damping material and fished the wires through. Then I screwed the terminal cup in place, plugged the driver’s mounting clips in and mounted the driver.
These very special drivers with their unique cones and suspensions required special break in. The manufacture recommended only low level soft acoustic music for the first 20-40 hrs, then an increase in volume until 100 hrs. Even though Planet-10 HiFi did break in the drivers, I still did not to use any bass heavy music as I wanted little to no cone excursion during the first 40hrs.
The Frugel-Horn Mk3 Speaker In Use
Listening

I placed the Frugel-Horn Mk3 in the same location as my current reference speakers, Martin Logan Vista Electrostatics. This puts the front baffle 40†from the wall, with the left speaker 12′ from a side wall, the right speaker 8′ from a side wall, and both roughly 11′ from my listening position. I toed in each speaker which tightened up the center image. Power came from the recently reviewed Parasound NewClassic 5250v.2 solid state power amplifier, my Denon 4308 handled the processing and source was my media-server and Sony PS3.
I played all forms of music, from easy acoustic material, heavy progressive rock and electronic music with deep bass. The first thing I noticed was the low to mid bass. Plenty of it, and detailed too. Not boomy bloated over done bass, but clear and defined. Mid-range with everything but the ugliest recordings was clean and perfect, this is where these speakers excel. Not too far forward and with plenty of lower mid-range impact and no colorization. The high end was slightly rolled off at my normal seating position, which was due to the angled baffle of the Frugel-Horn Mk3 in relation to my chair distance and ear height. Small ½†thick tiles placed under the back of each speaker improved clarity. The one area these speakers felt short was in very high spl’s (100dB+). They did not enjoy being pushed hard and loud with noticeable break up in the high frequencies. And these delicate cones should not take much abuse nor are they suited for high excursion. All things considered (as they can handle a wide range of musical styles) I could be happy with these as my only speakers.
Finishing
But wait, they are still unfinished plywood boxes (or MDF if you choose that…which is not recommended by the box designers). Finishing will require you stop listening to them (which explains why many DIY speakers are never finished), removing the terminal cups and drivers in order to either paint, stain or veneer. It is important to ‘pre-stain’ Baltic birch to avoid blotchy grain patterns.
Conclusions About the Frugel-Horn Mk3 – DIY Flat-pack Speaker Kit
This build was not only fun, easy and satisfying, but I learned a lot. I learned you should not judge a speakers performance on size alone, and one’s ineptitude with tools should not prevent you from building a decent speaker system. I admit I was skeptical of both the modeled bass response of the Frugel-Horn Mk3 and the possible high-frequency extension of the Alpair 7eN. How could a 4 inch driver possibly reach 40 Hz? And if so how could it achieve that without sacrificing the high-end? After two songs all skepticism washed away. I am still in awe of what these speakers can do. What started out as a pair of speakers destined for surround duty ended up as quite possibly my new front speakers.
Relevant links: